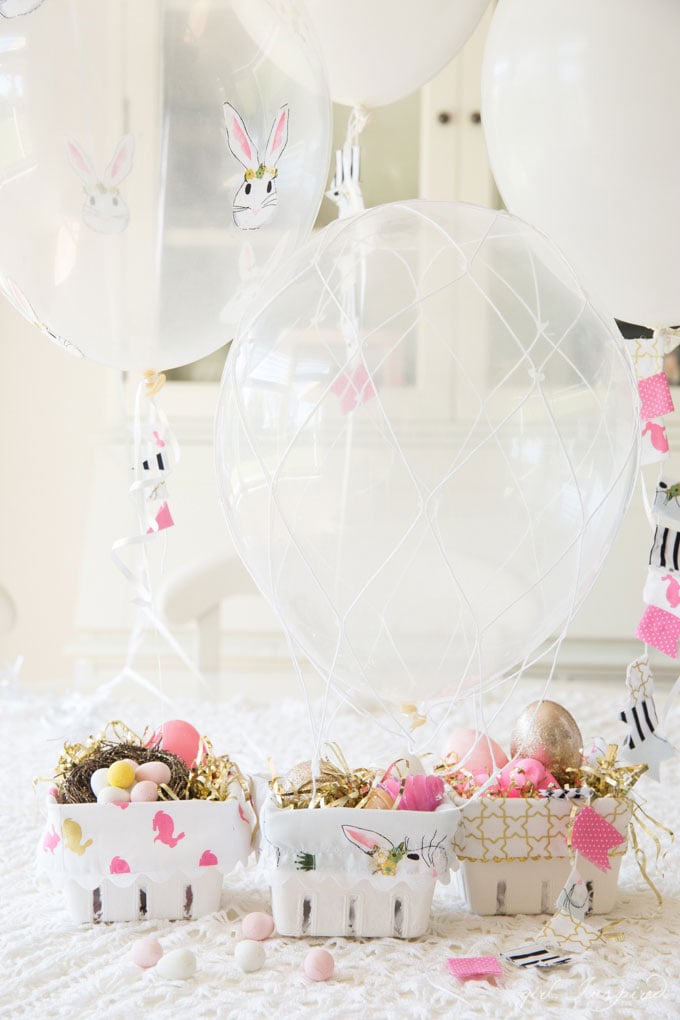
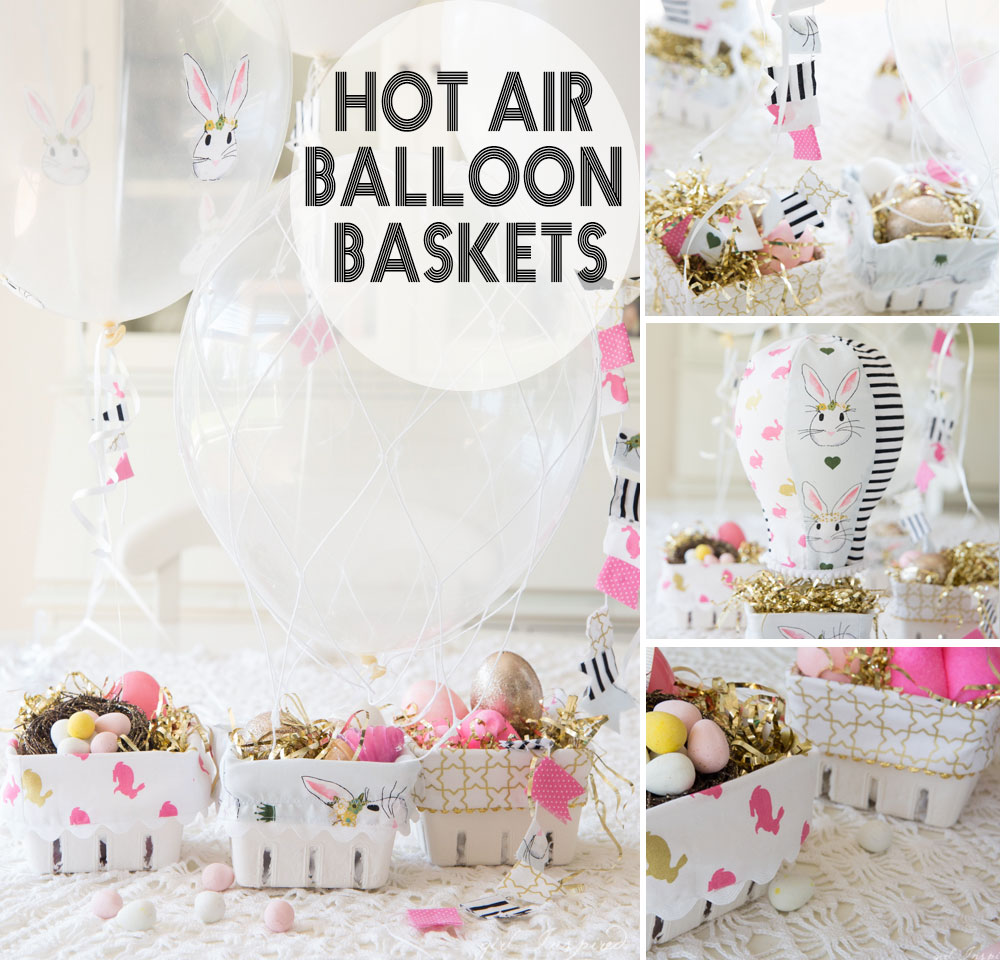
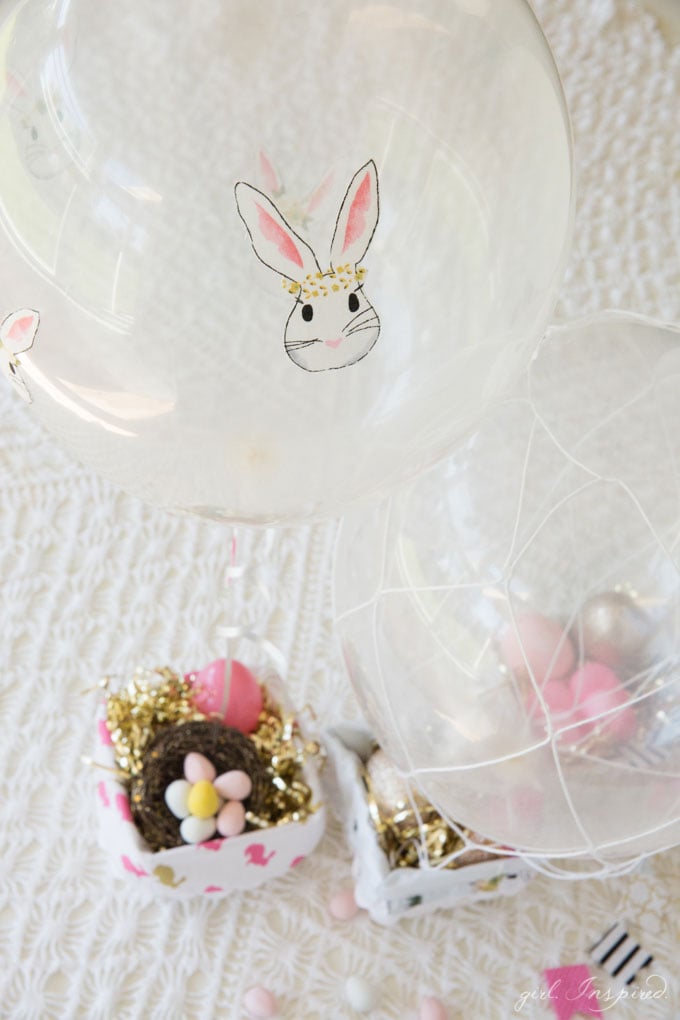
Oh my word, friends, this is about the cutest thing I’ve crafted up in a good, long while! Hot Air Balloon Easter Baskets!!! I am dying!
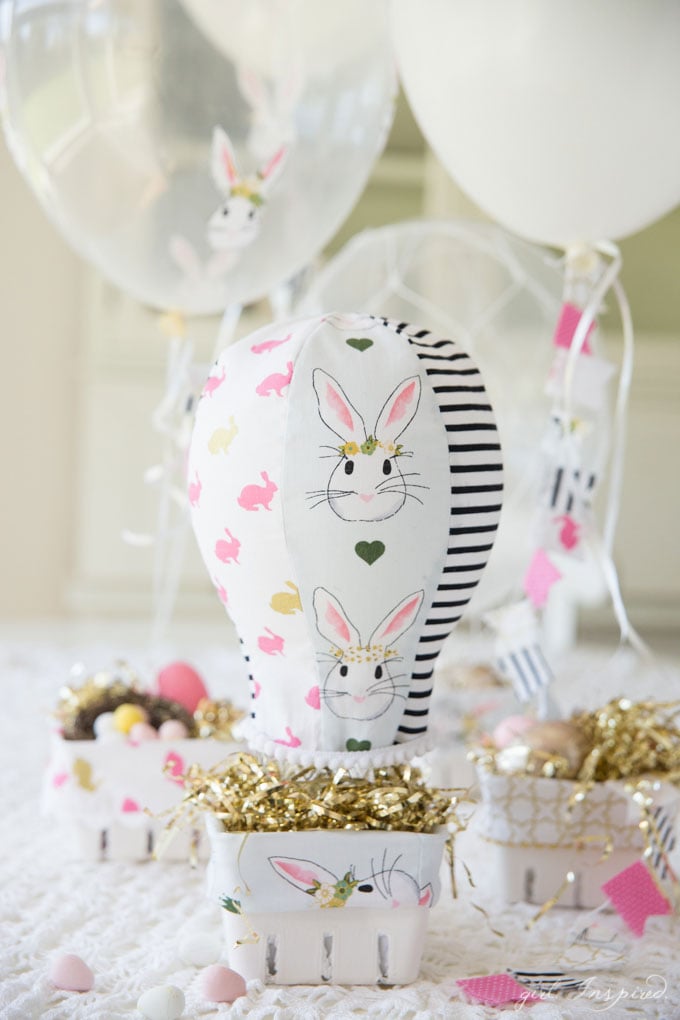
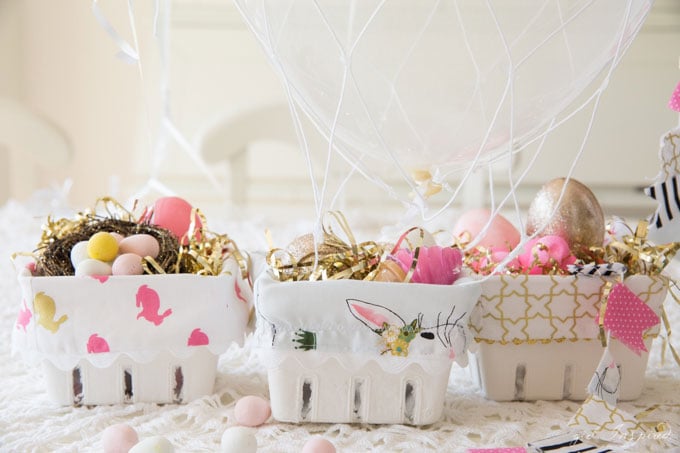
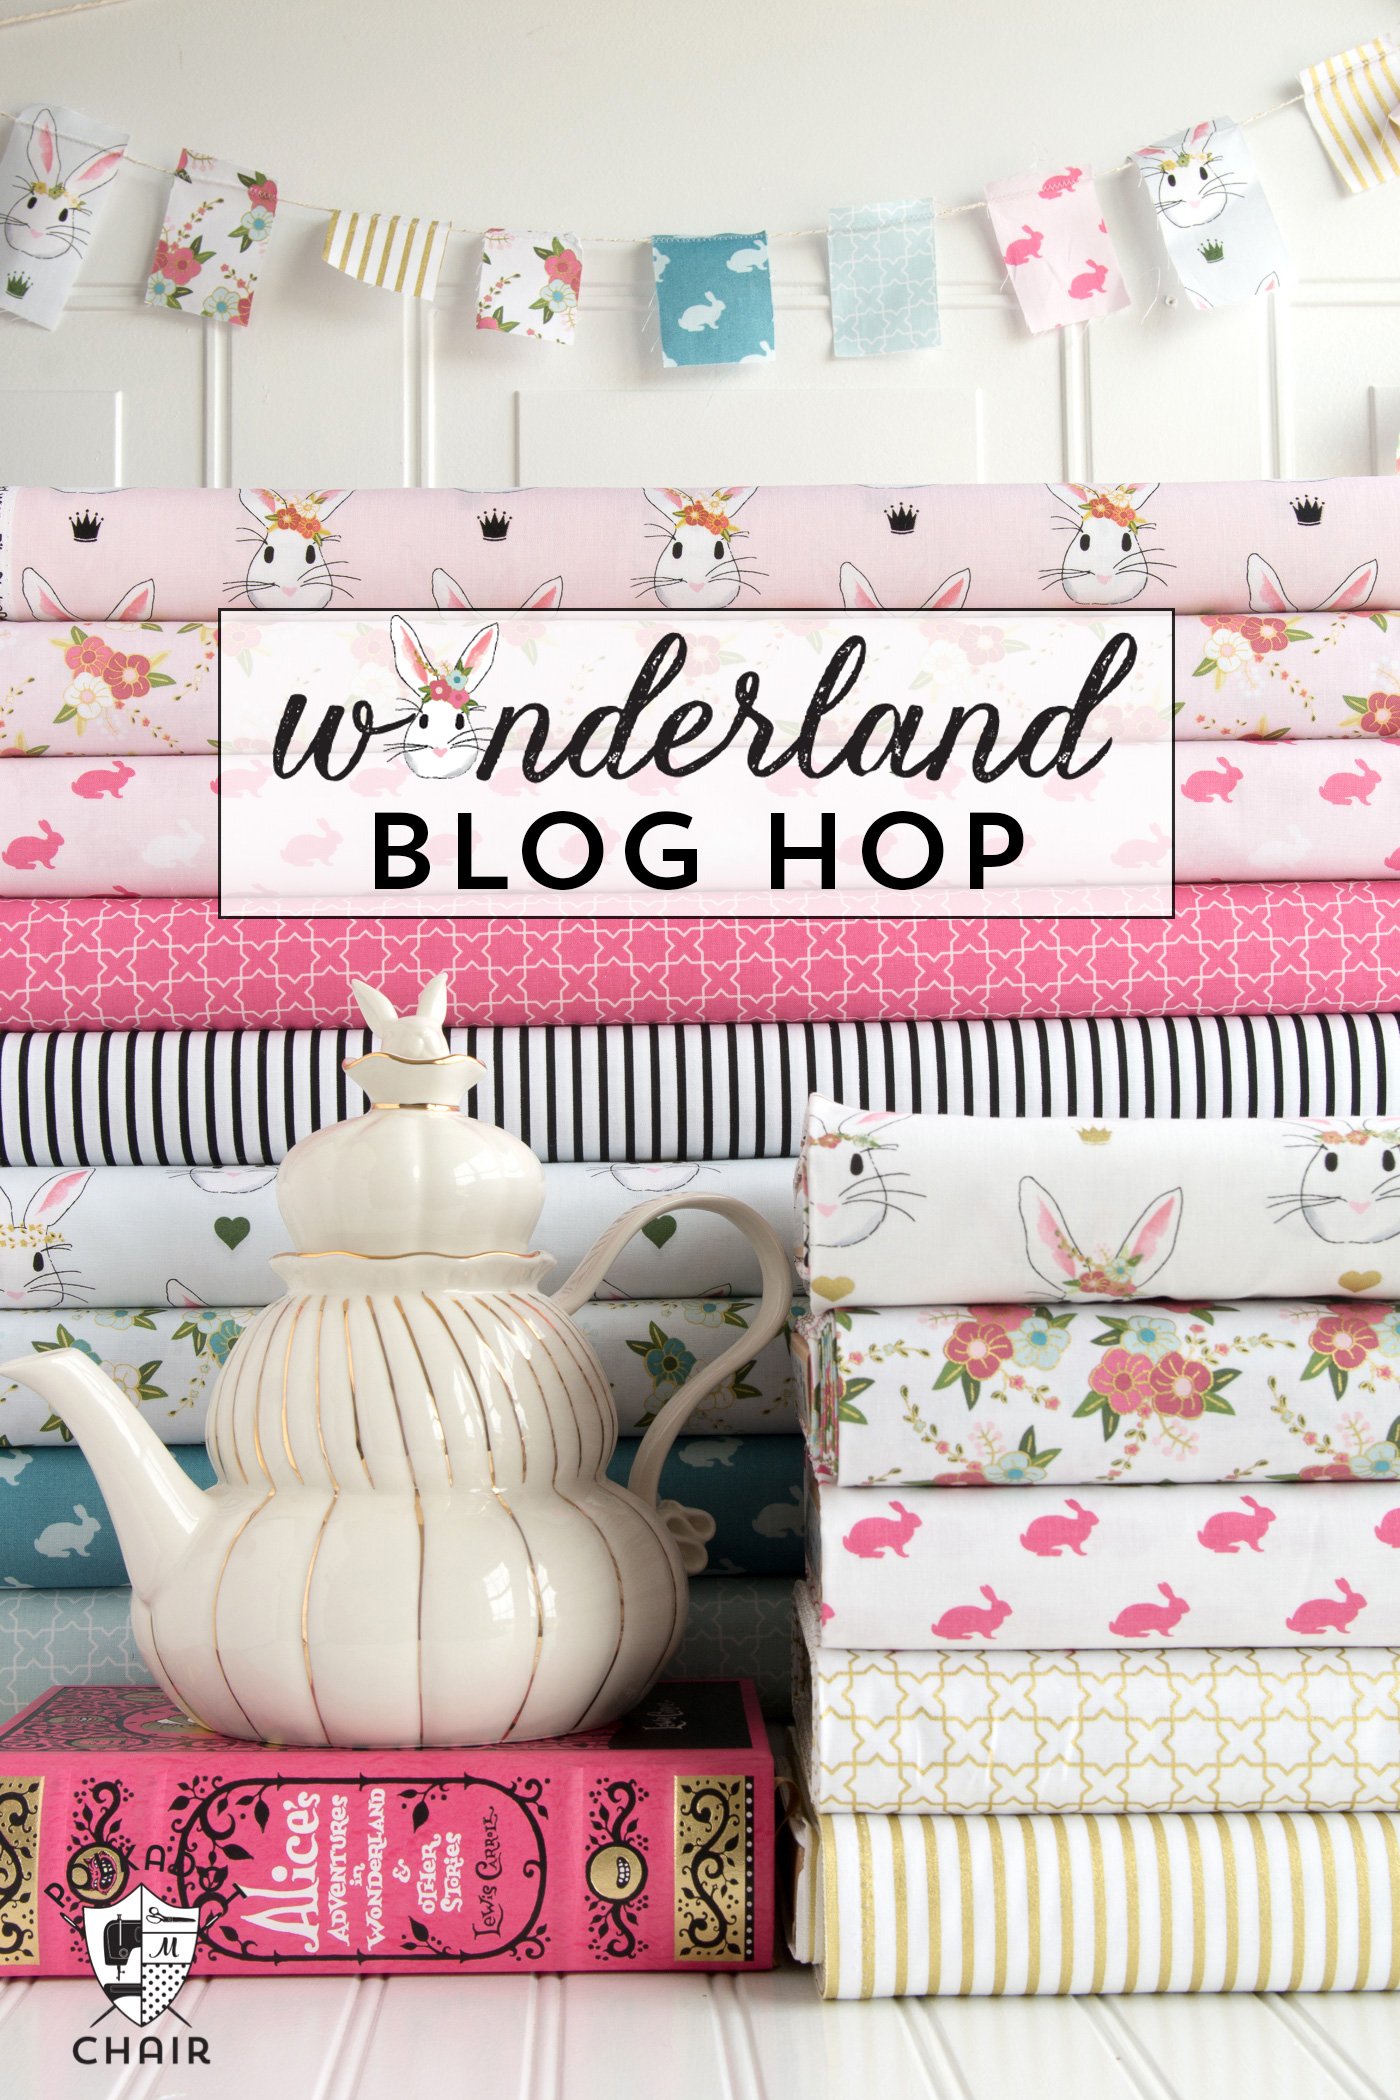
I had a little stack of the absolute CUTEST new fabric – all part of the “Wonderland” fabric line designed by Melissa Mortenson of The Polka Dot Chair for Riley Blake Designs. Have you seen this fabric? It is not to be missed. It comes in a blue, a white, and a pink color way and every single print is beyond scrumptious. The metallic gold is fantastic and the bunny on the main print just kills me. I love this line of cottons. I intend to sew some little Easter dresses for the girls, but I was having a hard time cutting into the fabric and committing, so I started with some wee little crafts, and, well, I got carried away with a theme. I sewed a bunch of little basket liners, which sew up super quick and are just darling to spruce up these little paper baskets. And the lined baskets became the start of hot air balloon Easter baskets, and then the fabric itself became a hot air balloon – I can’t stop. Send help. Or just more Wonderland fabric so I never run out.
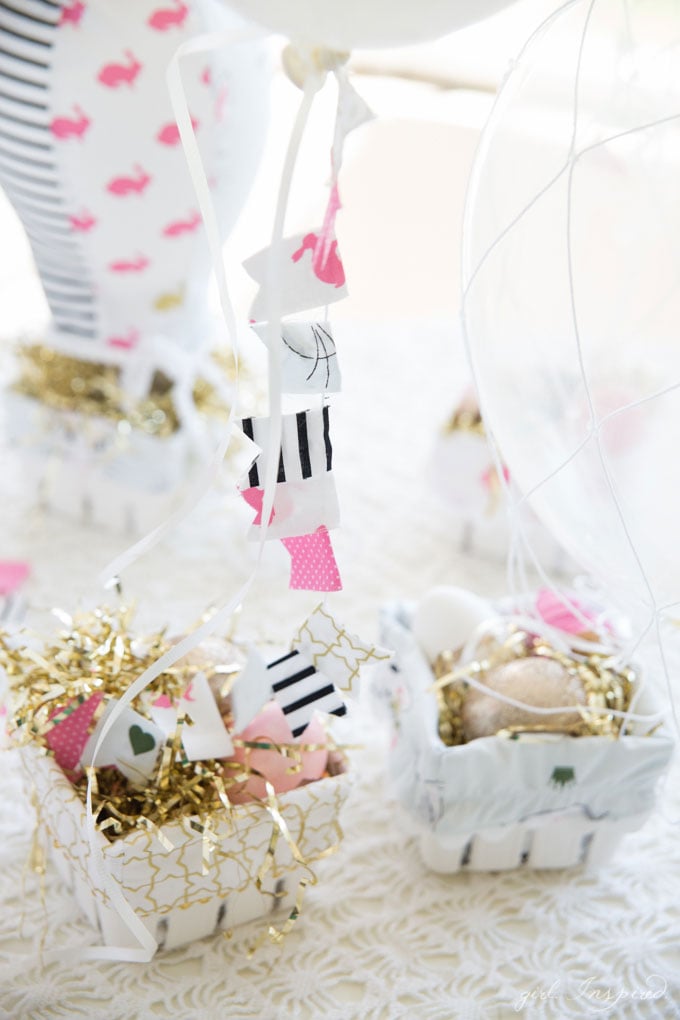
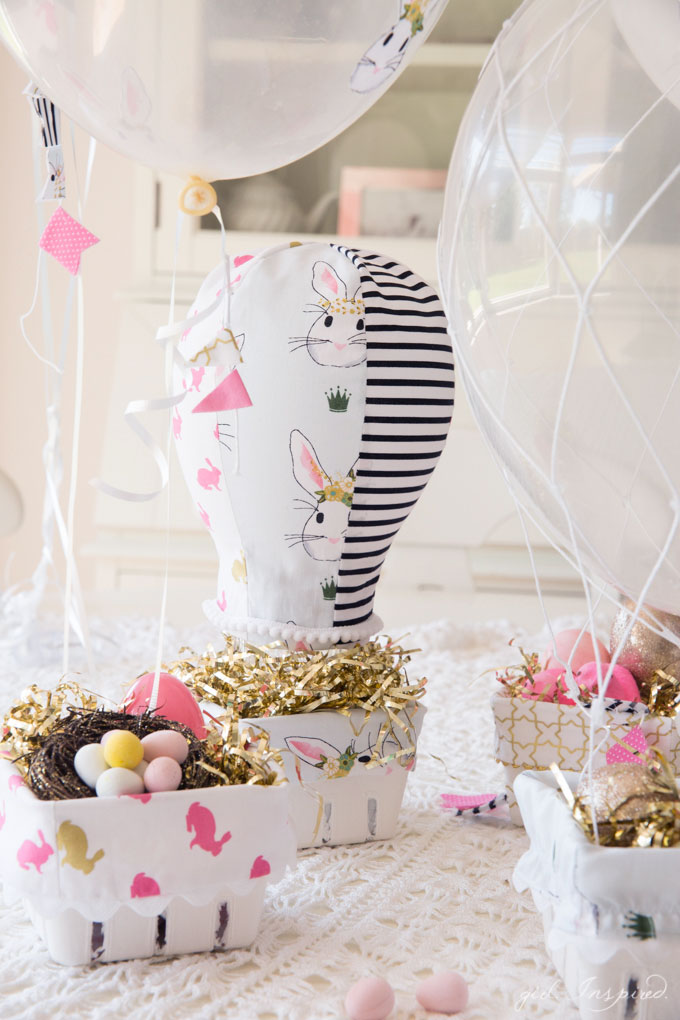
I went through about five practice patterns before I got a fabric “hot air balloon” that I was happy with. This one here has a balloon filling it out, which I just blew up within the fabric shell. I’d be curious if you could add helium and get it to float, but I suspect that the fabric would be too heavy. It would be fun stuffed with batting, also. I’ll share the pattern for the fabric hot air balloon in the coming days.
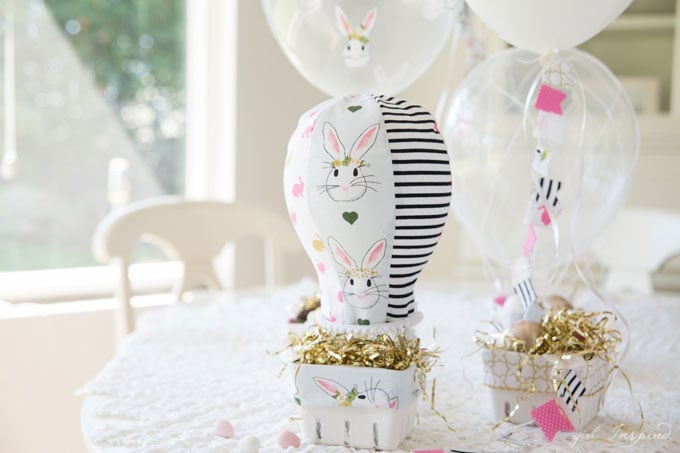
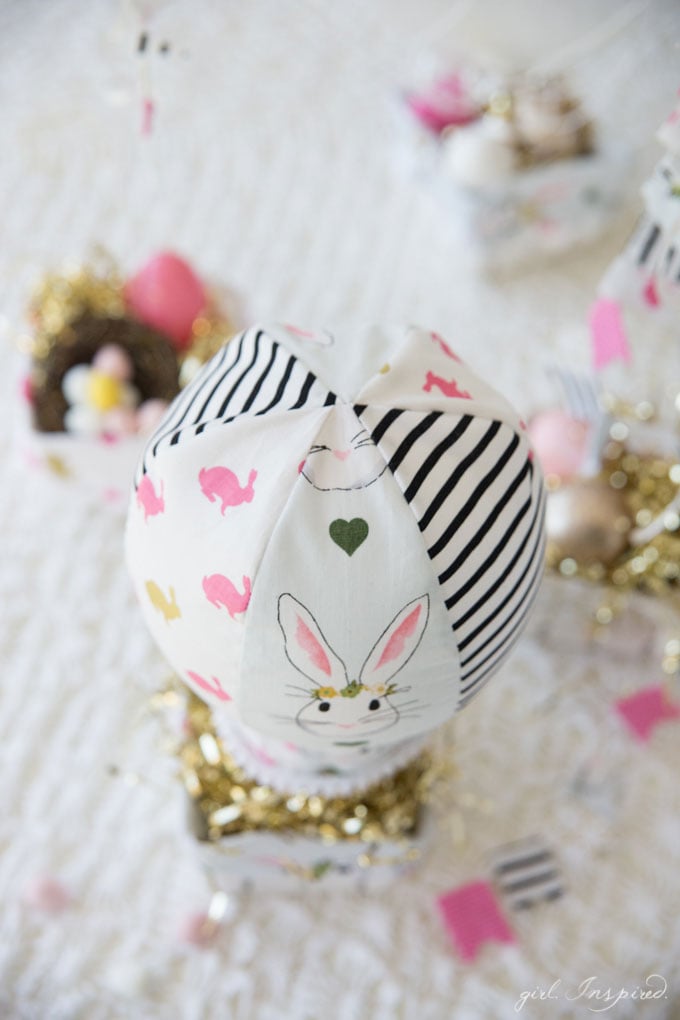
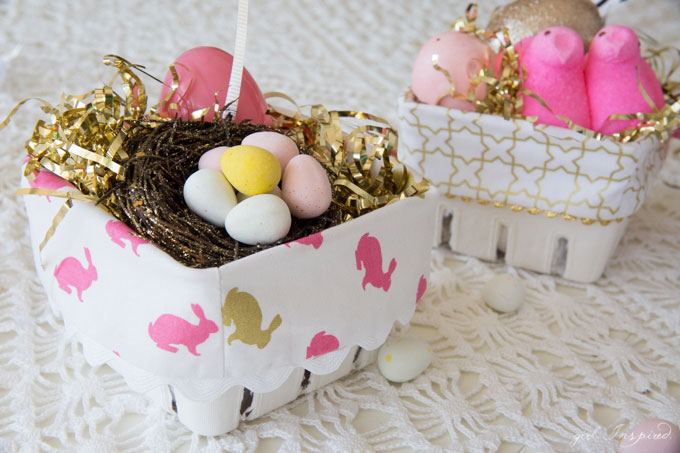
Today, though, I’m going to share a quick tutorial to sew up some fabric basket liners of your own. They’re really simple once you have your measurements down. I’ll provide the sizing for these fruit baskets that you can pick up at Michael’s or Hobby Lobby. I’ve also seen the baskets online through party supply stores – they’re a pretty standard size. Once you have the basic technique down, you can adjust the measurements to make custom basket liners in any size. Let’s get started.
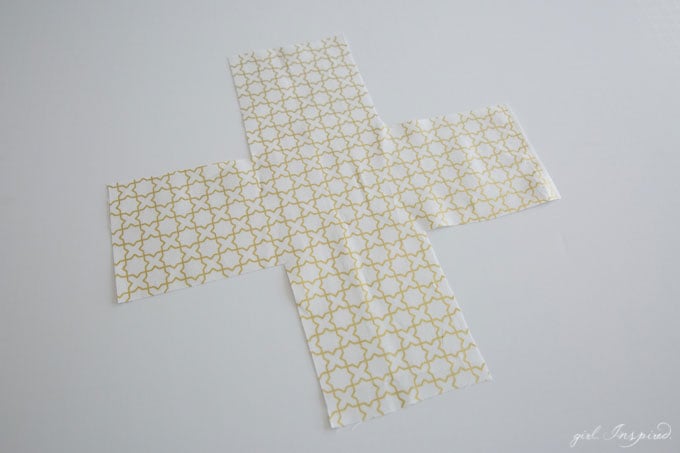
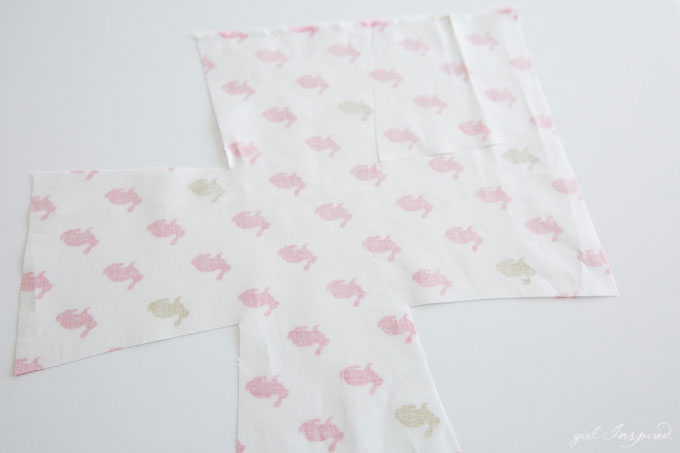
Cut a square of fabric 13″ x 13″. (This is ½ the distance across the bottom of the basket (1.5″) plus the height of the basket (3″) plus the desired overhang (1″) plus 1″ for seam allowances = (6.5″) multiplied by 2 = 13″ square.) Notch out 4.5″ squares from each of the four corners, as shown above (when sewn, this will leave you with a base that’s just over 3″ square.)
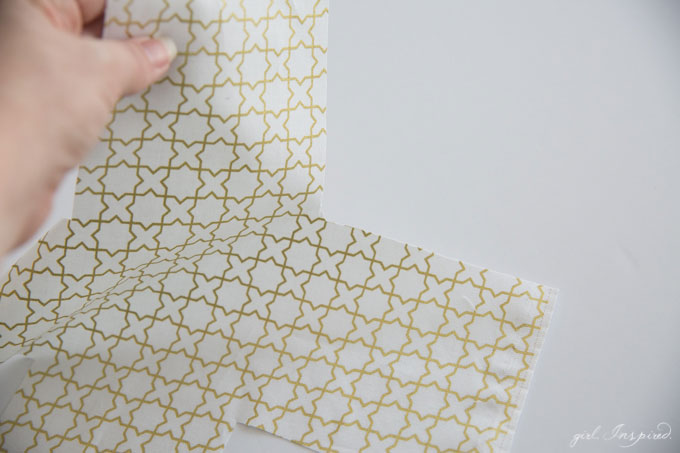
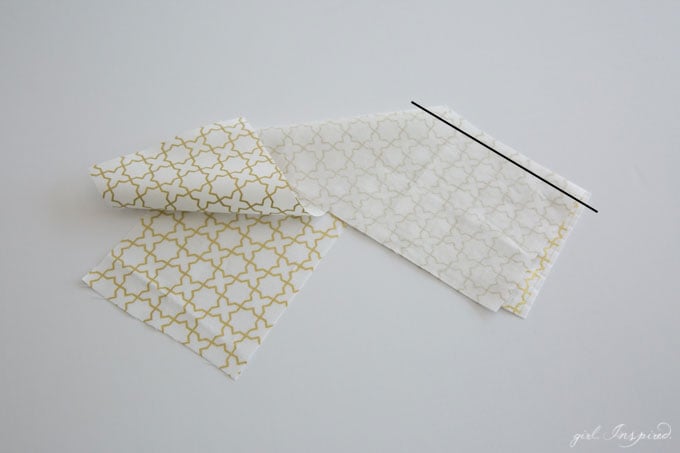
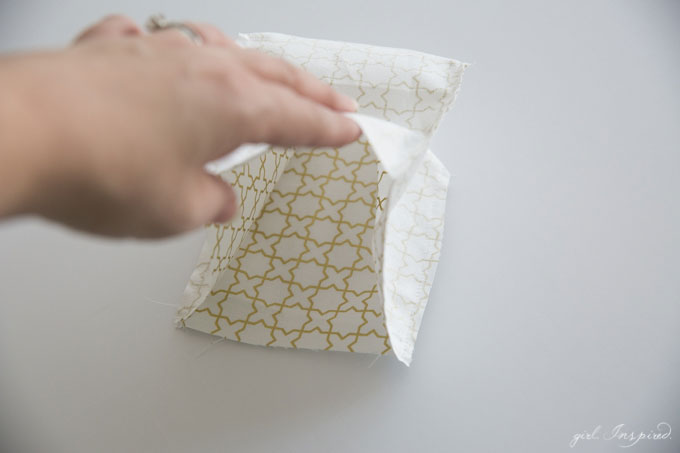
Fold each corner over on itself and match the raw edges, right sides together. Sew the corner together with a ~ ⅛″ seam allowance. Repeat for all four corners to form a little box. Now you just need to hem the top edge. You can fold under the edge twice, press well, and topstitch. Alternately, you can add some trim along the edge – I love how cute the ric rac looks:
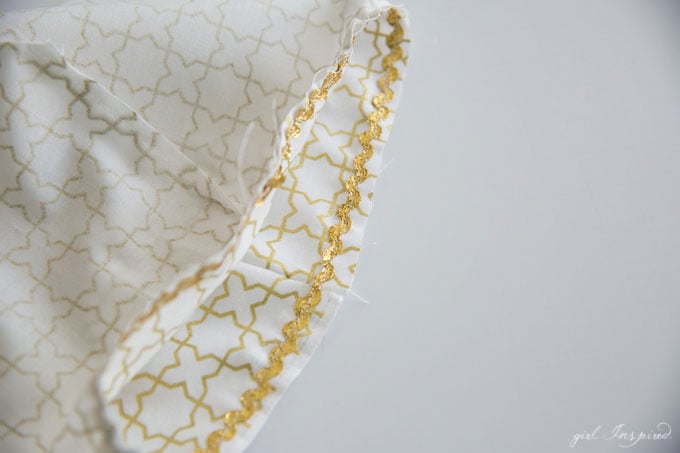
Stitch down the center of the ric rac along the raw edge of the basket liner, right sides together.
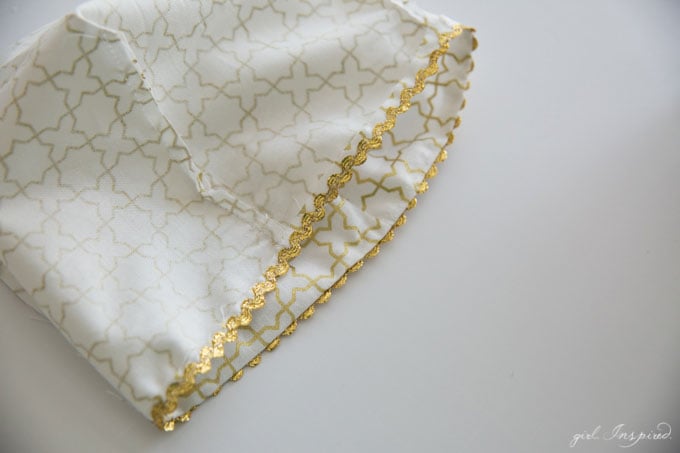
Serge or apply fray check along the raw edge of the fabric if desired (I didn’t bother). Press the ric rac toward the wrong side so that the other half of it forms a little border along the new top edge of the fabric liner. Edge stitch if desired (not shown).
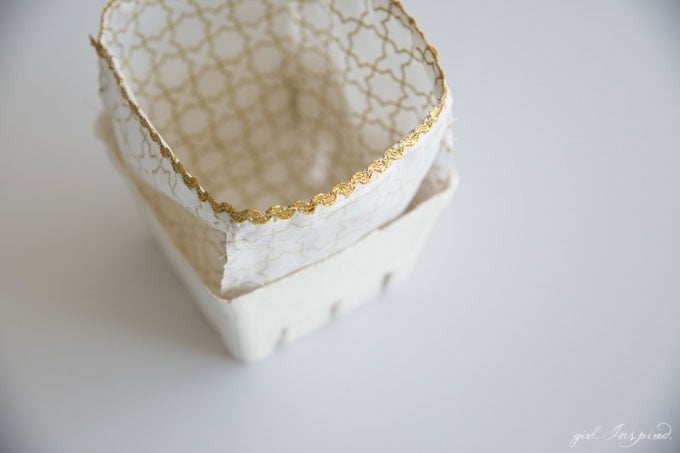
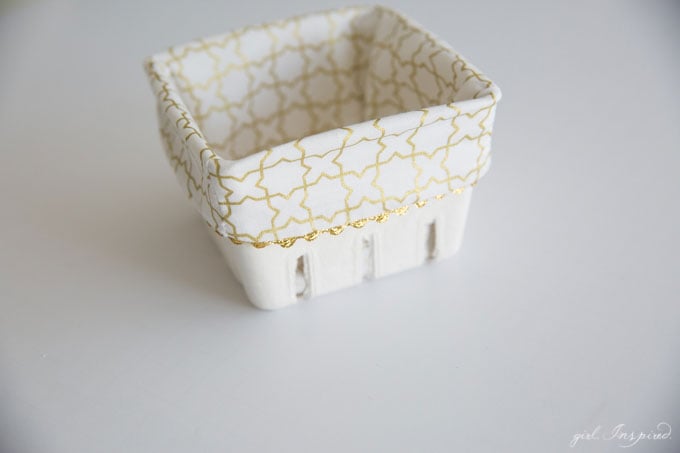
Now slip that liner into the basket and fold the edge over – done! Since these baskets are actually wider around the top than the bottom, making a square liner means that the top nearly squeezes to go over the edge. This actually keeps it nice and snug and neat, but if you need to adjust the sewing to fit the lines of the basket, do that by adjusting the squares you cut out of each corner of your starting square of fabric:
Rather than cutting 4.5″ squares, make a mark at the inner point 4.5″ in just like you did with the other method. When you mark the sides though, measure 4″ from each corner, thus forming little diamond-ish shapes when you cut out the corners. Does that make sense? So when you sew up each corner, the tops of each side of the box will be longer than the bottom sides of the box.
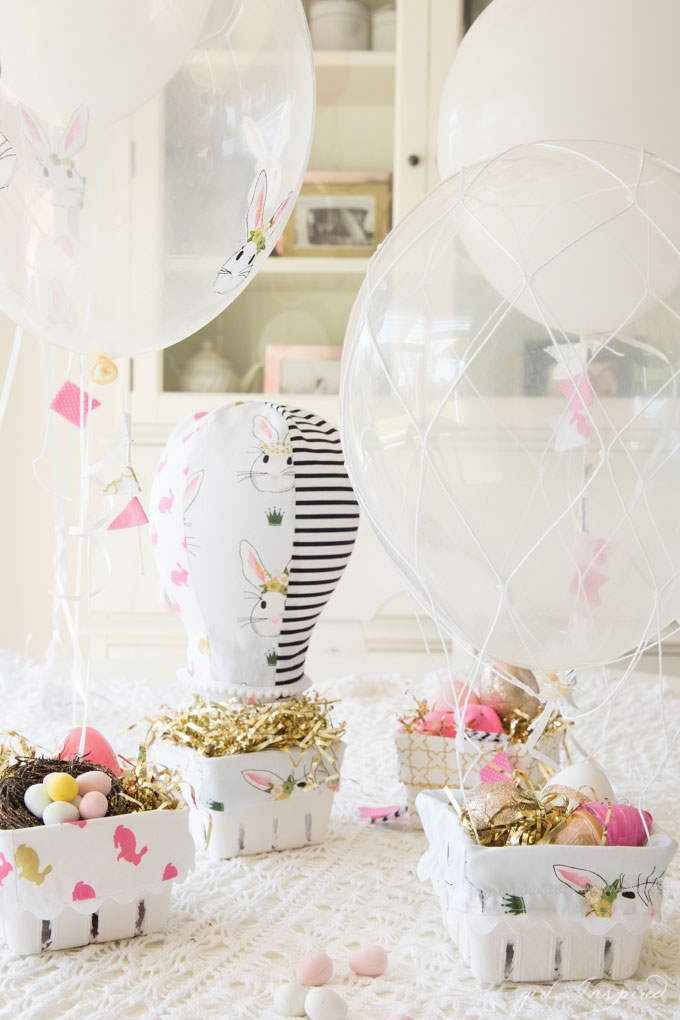
Turn the fabric-lined baskets into little hot air balloons by nestling a helium-filled balloon in the center of the basket. Hot glue tiny pennant streamers from the balloon strings (not too many, they’re kinda heavy for the helium!)
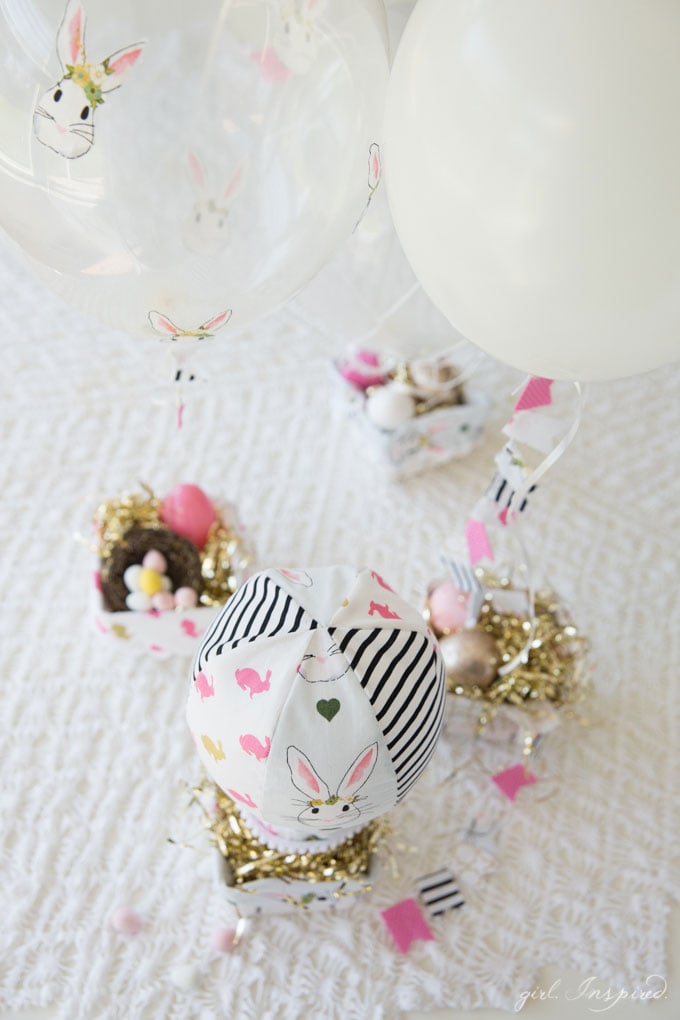
If you still haven’t had enough of the bunnies on this adorable Wonderland fabric, you can cut a few out and “appliqué” them onto a balloon with Mod Podge (this will last a good 5 or so hours before the weight of the appliqués bring the balloon down). Use a foam brush to coat the back of the bunny with the glue and gently press it on here and there around the balloon.
Alrighty friends, RUN and get your Wonderland fabric now. I dare you to choose just one color way. Dare you. Be back soon with that hot air balloon pattern!
And stop by The Polkadot Chair to see so many more drool-worthy projects with Wonderland!
*I was provided with the fabric for this project in exchange for my participation on the Wonderland Blog Hop* (twist my arm)


Comments & Reviews
Terrie says
Extremely adorable! Thank you for sharing with us who love Making fun/easy projects!