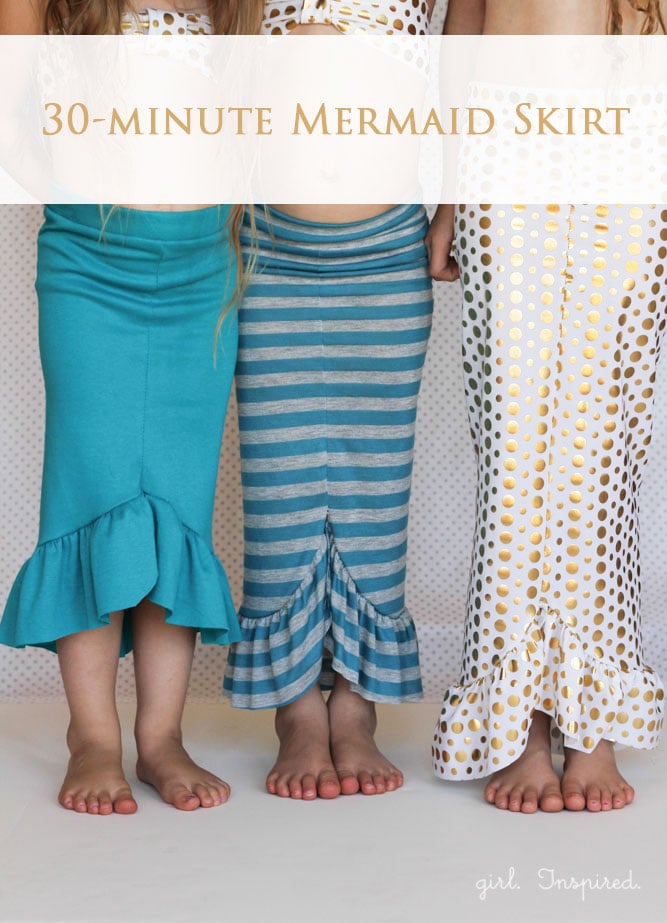
If your little girls are obsessed with all things mermaid, this is THE tutorial for you. There is just something so enticing and mysterious about mermaids and my girls could play “mermaids” for hours, how about yours? Whether your daughter likes dress-up or she’s searching for the perfect Halloween costume, this 30-minute mermaid skirt tutorial is sure. to. please.
To make this mermaid skirt, you will need a stretchy knit – it looks super cute with a regular jersey knit, it can also be made with a lycra/spandex/swimsuit material for a great costume effect! You will need just a small amount of fabric – less than a yard for most children’s sizes. For the quickest construction, use a ruffling foot to gather the fabric for the bottom skirt ruffle and a serger to sew the three seams. Of course, you can gather the skirt ruffle without a ruffling foot and you can sew the seams with your regular machine – and still finish in less than 30 minutes. (be sure to use ball-point needles on your machines and a zig-zag stitch if you use a regular machine)
Are you ready? Let’s get started!
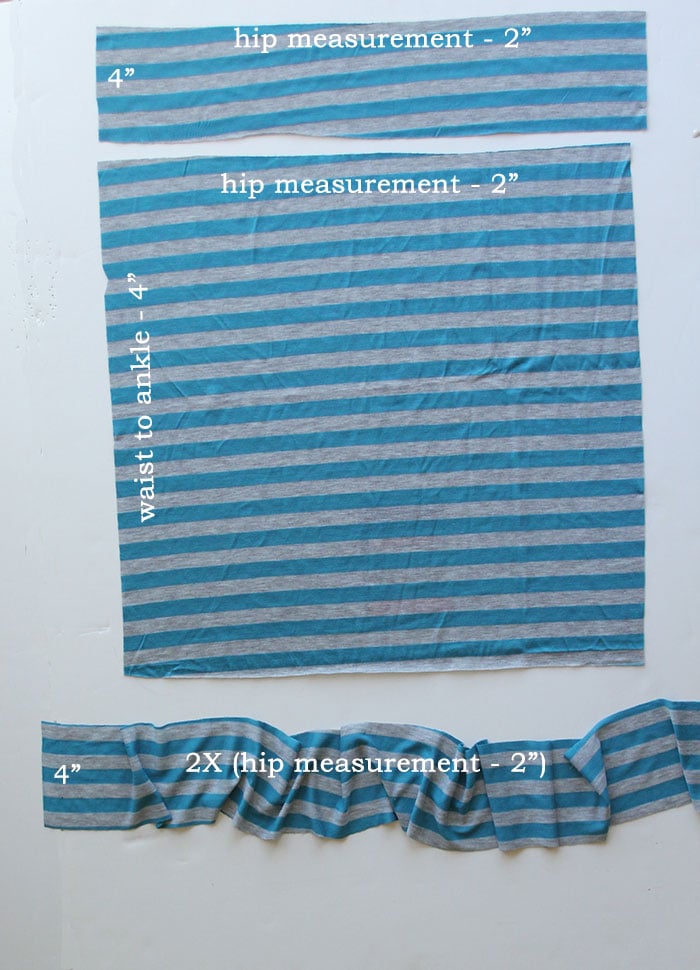
You will need two measurements to make the skirt – your child’s hip measurement and the length from her waist to her ankle. Cut one piece of fabric into a rectangle for the main skirt portion. The width (the direction of the most stretch) should be the hip measurement – 2 inches. The length of the rectangle should be the waist to ankle measurement – 4″.
Also cut:
a strip for ruffling that is 4″ by 2X the width of the skirt rectangle (or 2 x hip measurement-2″)
A waistband piece that is 4″ by the width of the skirt.
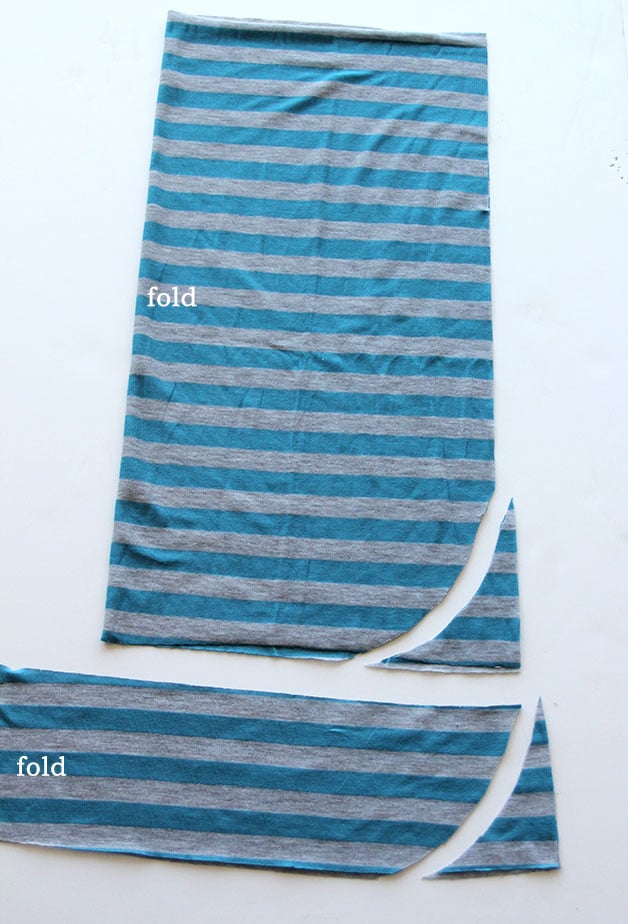
Begin by cutting a curve along the ruffling strip and the skirt piece. Fold the skirt in half lengthwise. Fold the ruffling strip in half, bringing the short ends together. Now cut a curve along the bottom (non-folded) corner of both of these pieces. Just eyeball it so that you have a smooth curve rounding off the corners (about 4-5″ up the side of the skirt piece).

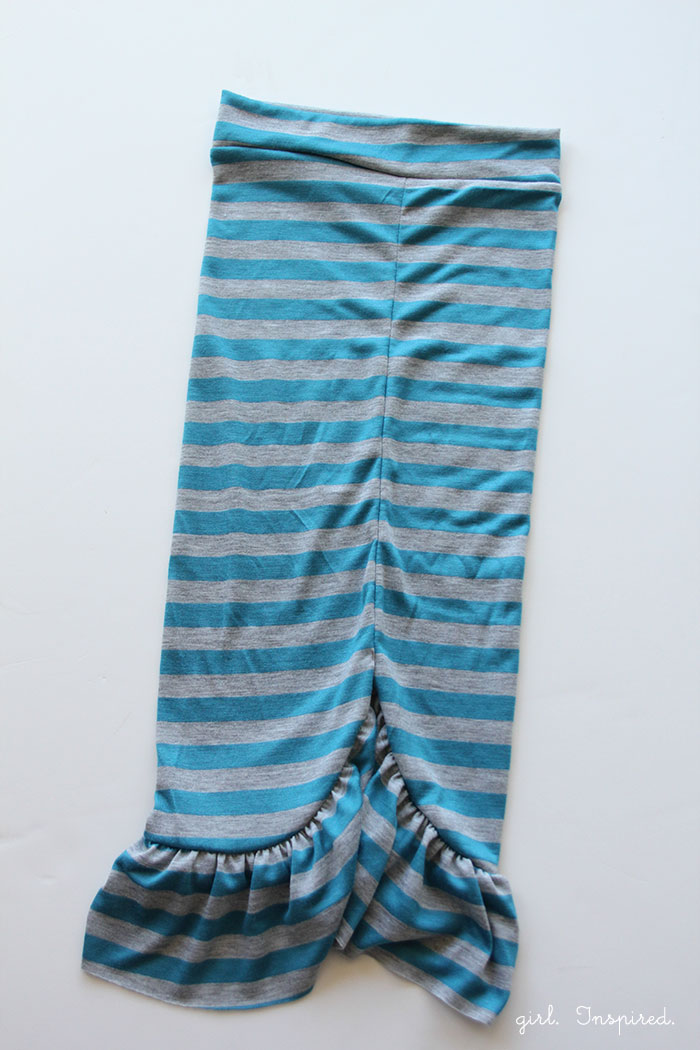
Now ruffle the long strip. Feed it through your ruffling foot for super speediness. Be sure to leave the threads long on each end of the ruffle to redistribute the gathers to fit the skirt if needed. If you do not have a ruffling foot, stitch a long basting stitch down the length of the ruffle, pull the bobbin threads to gather the strip. Either way, the gathered strip should be the same length now as the bottom of the skirt piece. Match the gathered side of the ruffle strip to the bottom edge of the skirt, right sides together. Pin in place (or don’t, just check to make sure the length is the same). Stitch or serge the ruffle to the bottom of the skirt. No need to hem!

Turn down the attached ruffle.
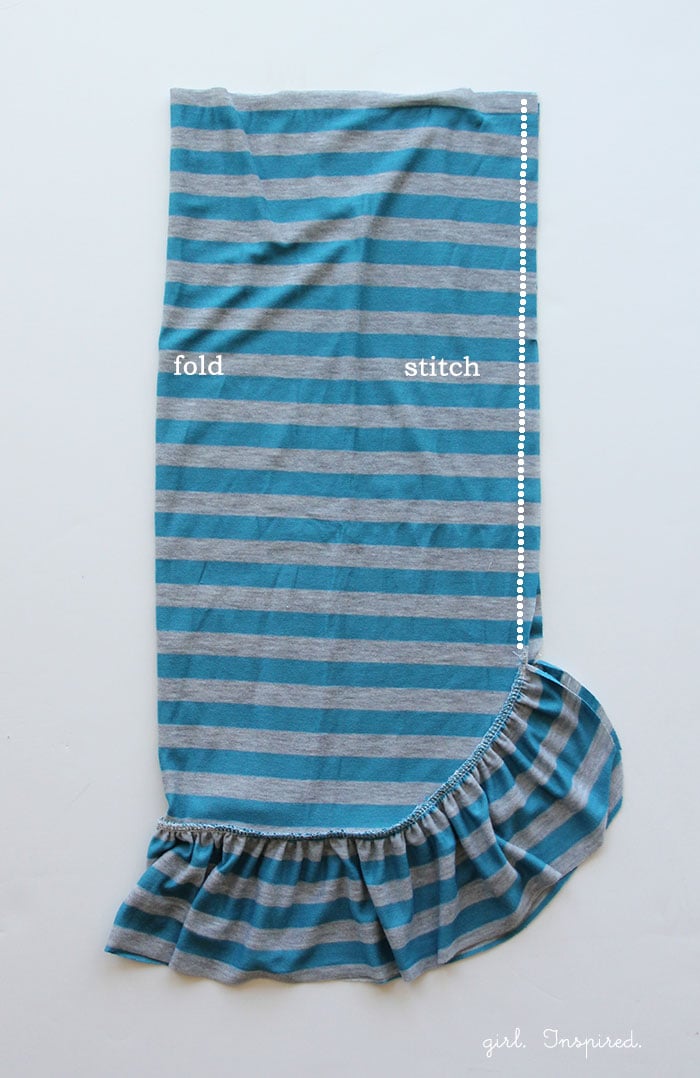
Fold the skirt in half with right sides in and match the two sides. Stitch or serge from the top of the skirt down to where the ruffle seam is – do not stitch the two ends of the ruffle strips together.
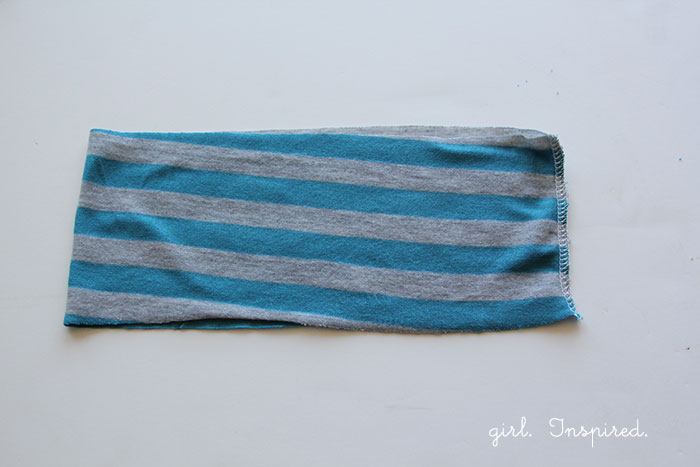
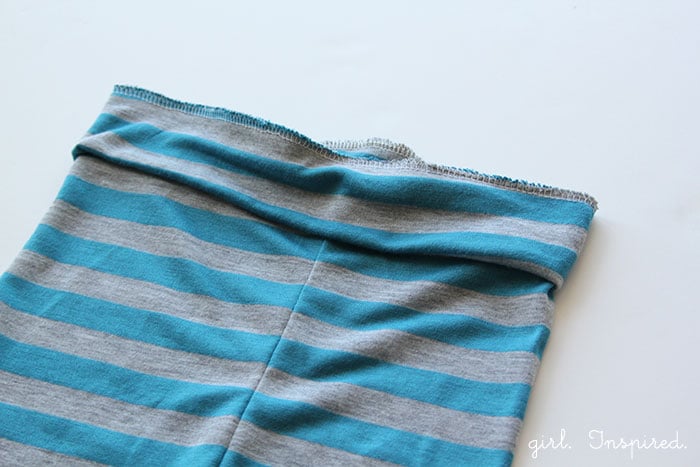
Set the skirt aside for a moment and grab the waistband piece. Match the two short ends, right sides together and stitch (or serge!!!) to form a tube.
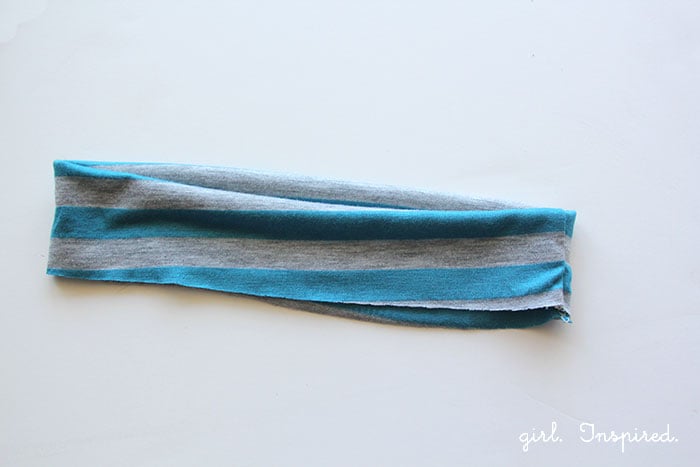
Fold the tube in half along its length to form the waistband.
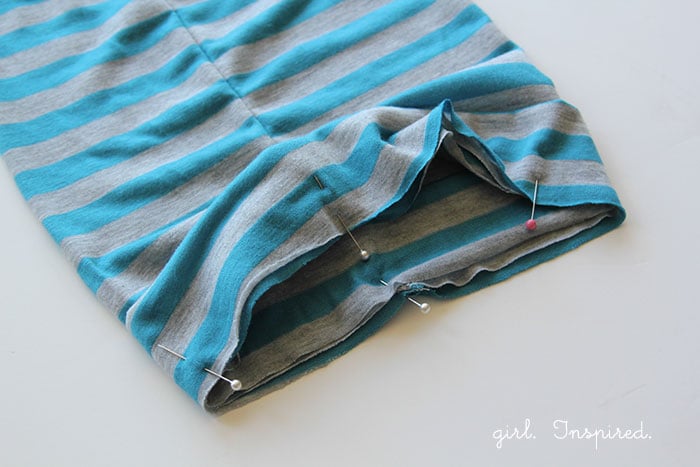
With the skirt right side out and the waistband on the outside of the skirt, match the seamline in the waistband to the center back of the skirt. Pin the waistband to the skirt, matching raw edges (the folded edge of the waistband will be facing down toward the hem). The waistband should be the same circumference as the skirt, but be sure that the two are pinned evenly around the whole waistband.
Serge together (or stitch – be sure you’re using a zigzag stitch)
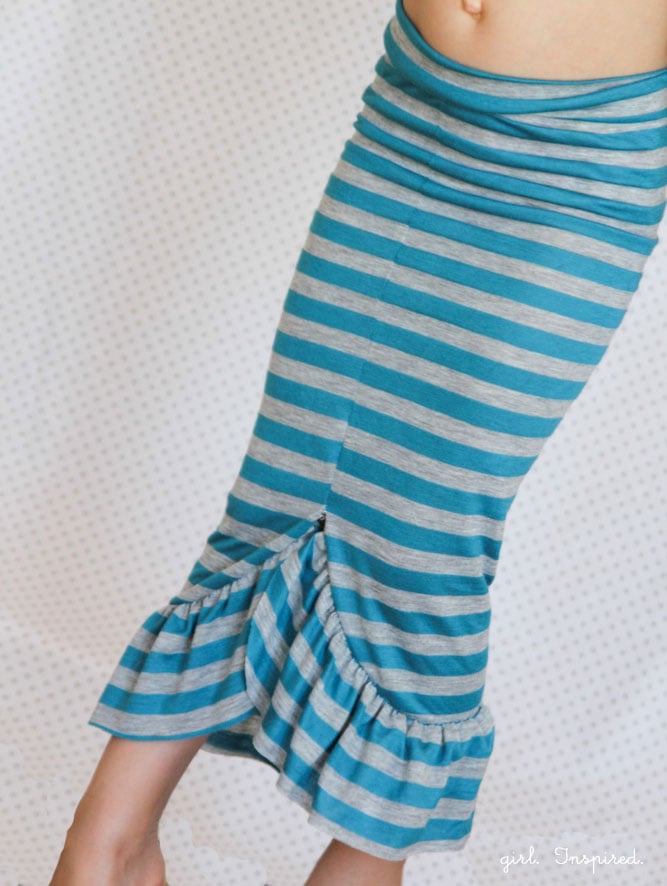
And that is it!! Wasn’t it quick and easy?


Mermaid perfect in no time!
Gold and White Polka Dot Fabric can be found at Michael Levine, here.
Blue and Grey stripe knit can be found at Girl Charlee, here.
Teal knit from my local Joann.


Comments & Reviews
Sheree says
Help! My knit ruffle is curling more than I want. What should I do?
girlinspired says
Hi Sheree! I hate it when that happens! You can try spraying it with a little starch and ironing – that helps tame the curling some. Also, try not to pull on the fabric at all once you’ve cut it. I always notice that it curls if I’ve pulled on it at all. Good luck!
annie! says
This is such a great pattern…and well explained. Thanks a ton for sharing. My granddaughter will love it!
Amanda says
How cute. I have some girls that would adore these 🙂
Krista @ the happy housie says
These skirts are sooo adorable! And a fabulous tutorial too:) I would be thrilled if you have the chance to share this at our new Fall DIY Challenge if you haven’t already- today we are linking up BLUE projects – old or new! Hop over to The Happy Housie to share yours! Hope to see ya there!
– Krista
Heather Mills says
Yep! I have three girls and they would love this! One loves Ariel and already has an adorable Ariel costume, but I’m sure the other two would love this. And . . . I could even do it! Thanks for the tutorial!
Karen says
My granddaughters can also play mermaids for hours. Thank you so much for this tutorial. I will be making two of these beautiful skirts.
Jess Abbott says
so cool Stef!!!
Wesley says
Love this! Thinking I might have to modify it for me for halloween!
Darlene says
What an adorable skirt. I no longer have little ones. However, I am thinking of making one for my tall, skinny young adult daughter. She could definitely pull this off. You could make it very boho casual or very formal or very costumey, depending on what material you use. LOVE IT!
Michelle says
I love this idea! I might even wear one! LOL
Beautiful job as always.
~Michelle
Momma Bain says
I had an itch to use this amazing mermaid fabric I found at Joanns. I made a pair of tights with ruffles but then saw this on FB! I’m so excited to make it. thank you for such a easy tutorial!
Sarah says
Adorable. Will have to make these at some point. Pinned. Thanks for the tutorial.
Sarah
Rachel of OddModicum says
Oh this is about the cutest thing, ever! A matching tank and some shell jewelry and some kelpy type hair crown, and you’re in business for a mermaid. Another winner. And I’m thrilled to know that I’m not the only reader who’s WAY behind on making the ideas you feature that we love… thanks for that, Katie! lol I don’t have quite 100 to make, but not so far from it.
Great tutorial!
Hugs & Hope,
Rachel of OddModicum
http://www.etsy.com/shop/OddModicum
Katie says
What a brilliant idea, I adore your fabric choices. Makes me want to rustle one up right away. The gold on white is gorgeous!
Thanks heaps for visiting my blog Stefanie and for leaving the sweetest comment on my “Pony dress”.♥
Katie (am-I-a-dreamer.blogspot)
Katie Wyckoff says
These are amazing and are officially on my list to make – along with a 100 other things! Your princess dresses are next up!! Where is the gold and white polka dot fabric from? I adore it!!
girlinspired says
Thanks, Katie! Isn’t that gold and white polka dot amazing? I can’t believe I forgot to give the resource – I ordered it online from Michael Levine – http://www.lowpricefabric.com – I’ll add a link to the fabric in the post in a bit!
Layla says
Love it 😻