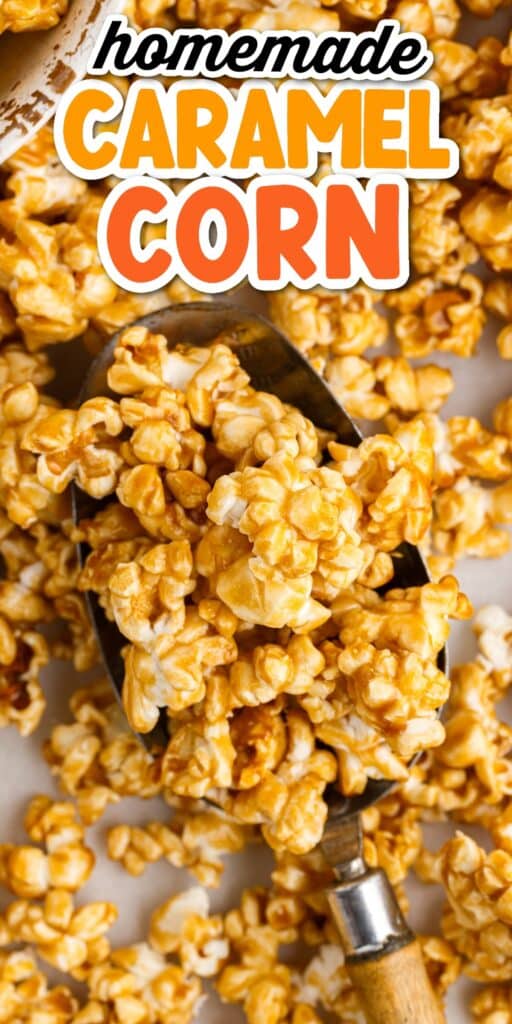

This caramel corn recipe is the best way to get your sweet, salty, crispy, crunchy fix. Made with brown sugar, butter, and a few other simple staples, in just over 1 hour, this classic homemade snack will be ready to dig into!
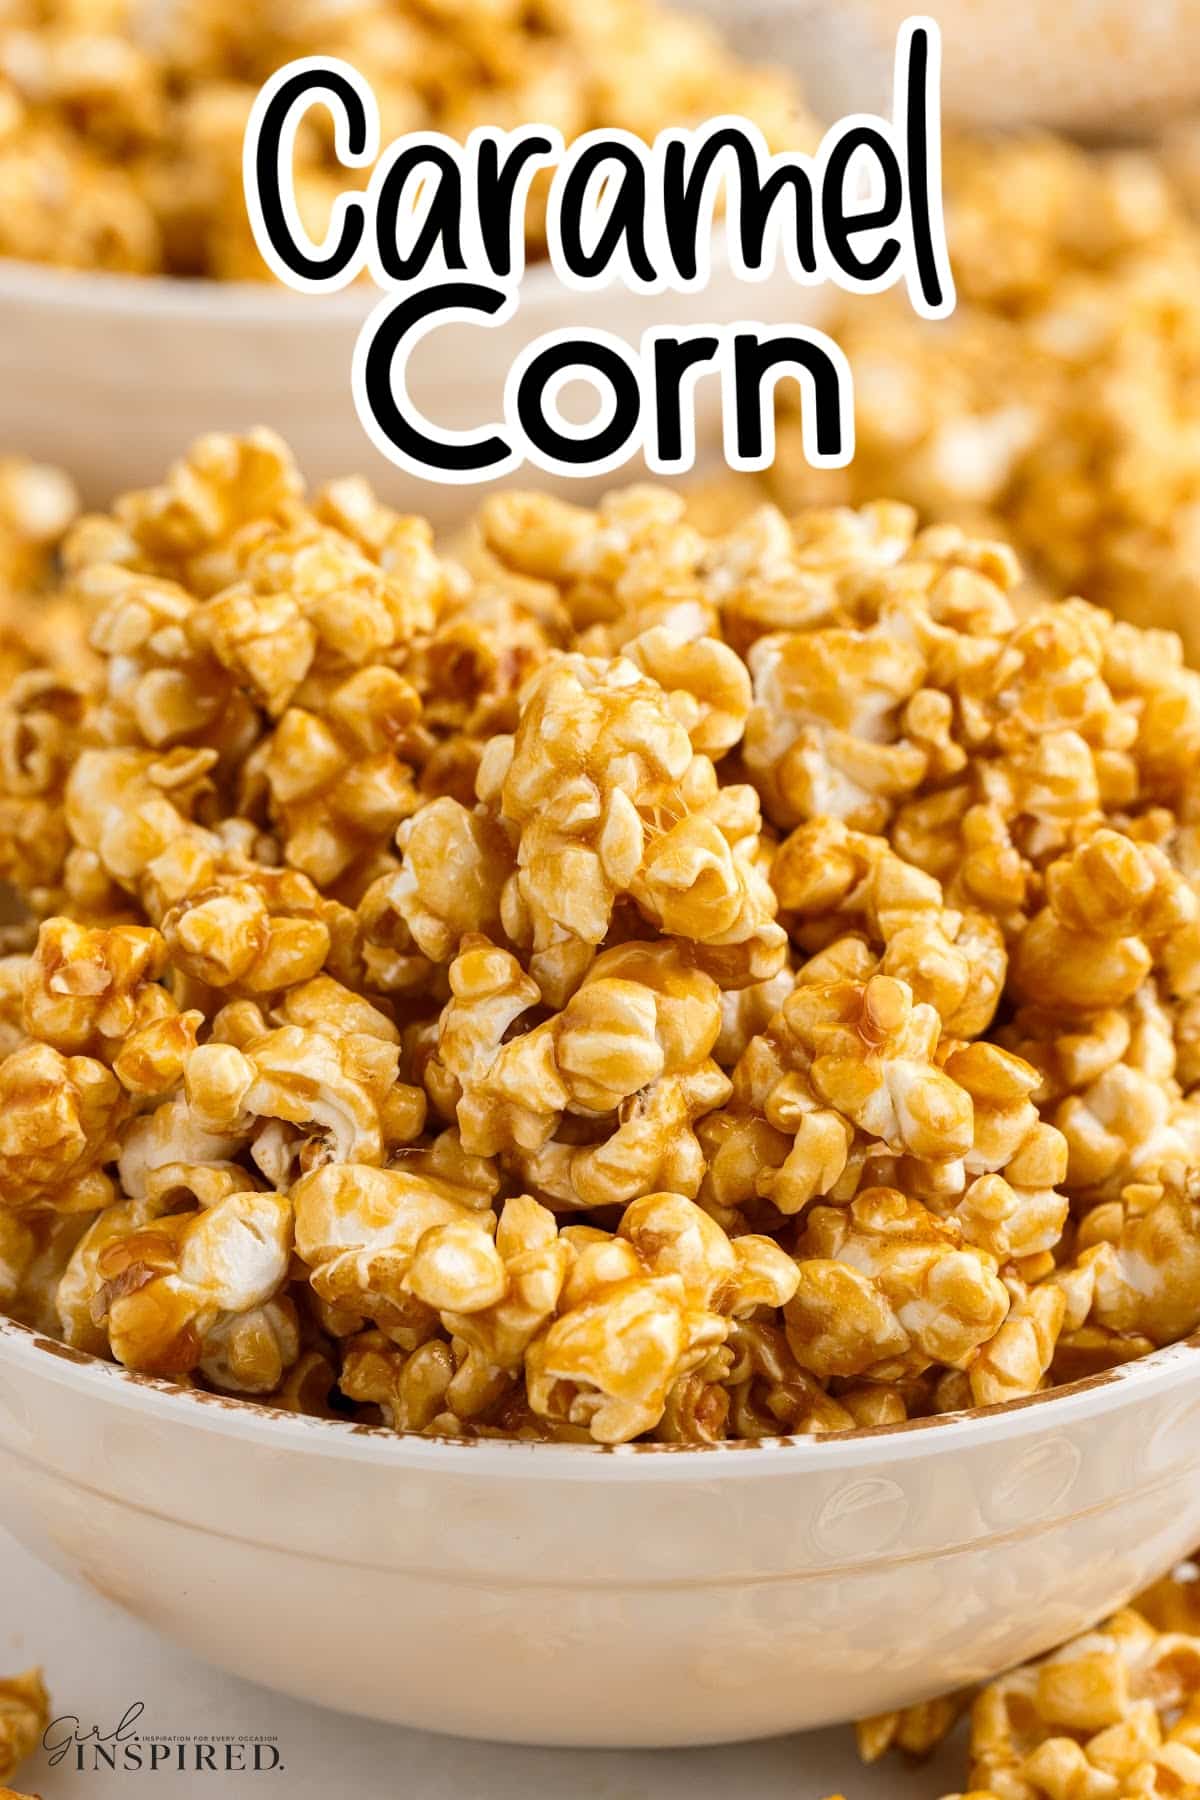
What is it about candy coated popcorn? Is it the sweet and salty combo? The crispy crunchy texture? Or is it pure nostalgia? I guess it’s all of the above! Caramel corn popcorn is an old-fashioned classic treat that gives us just as much of an experience in the summertime at carnivals as it does in the winter at Christmas time. This and rainbow popcorn are two of my all time favorite snacks.
This recipe doesn’t require any special tools or gadgets and there is no thermometer needed. All you need is a pot or pan, and baking sheets. It’s made with just a few pantry staples and the result is perfect caramel corn every time. A light, crisp coating that doesn’t stick in your teeth and dissolves perfectly with every bite. It keeps for weeks in an airtight container, so it makes a great make-ahead snack.
🍿 Ingredients:
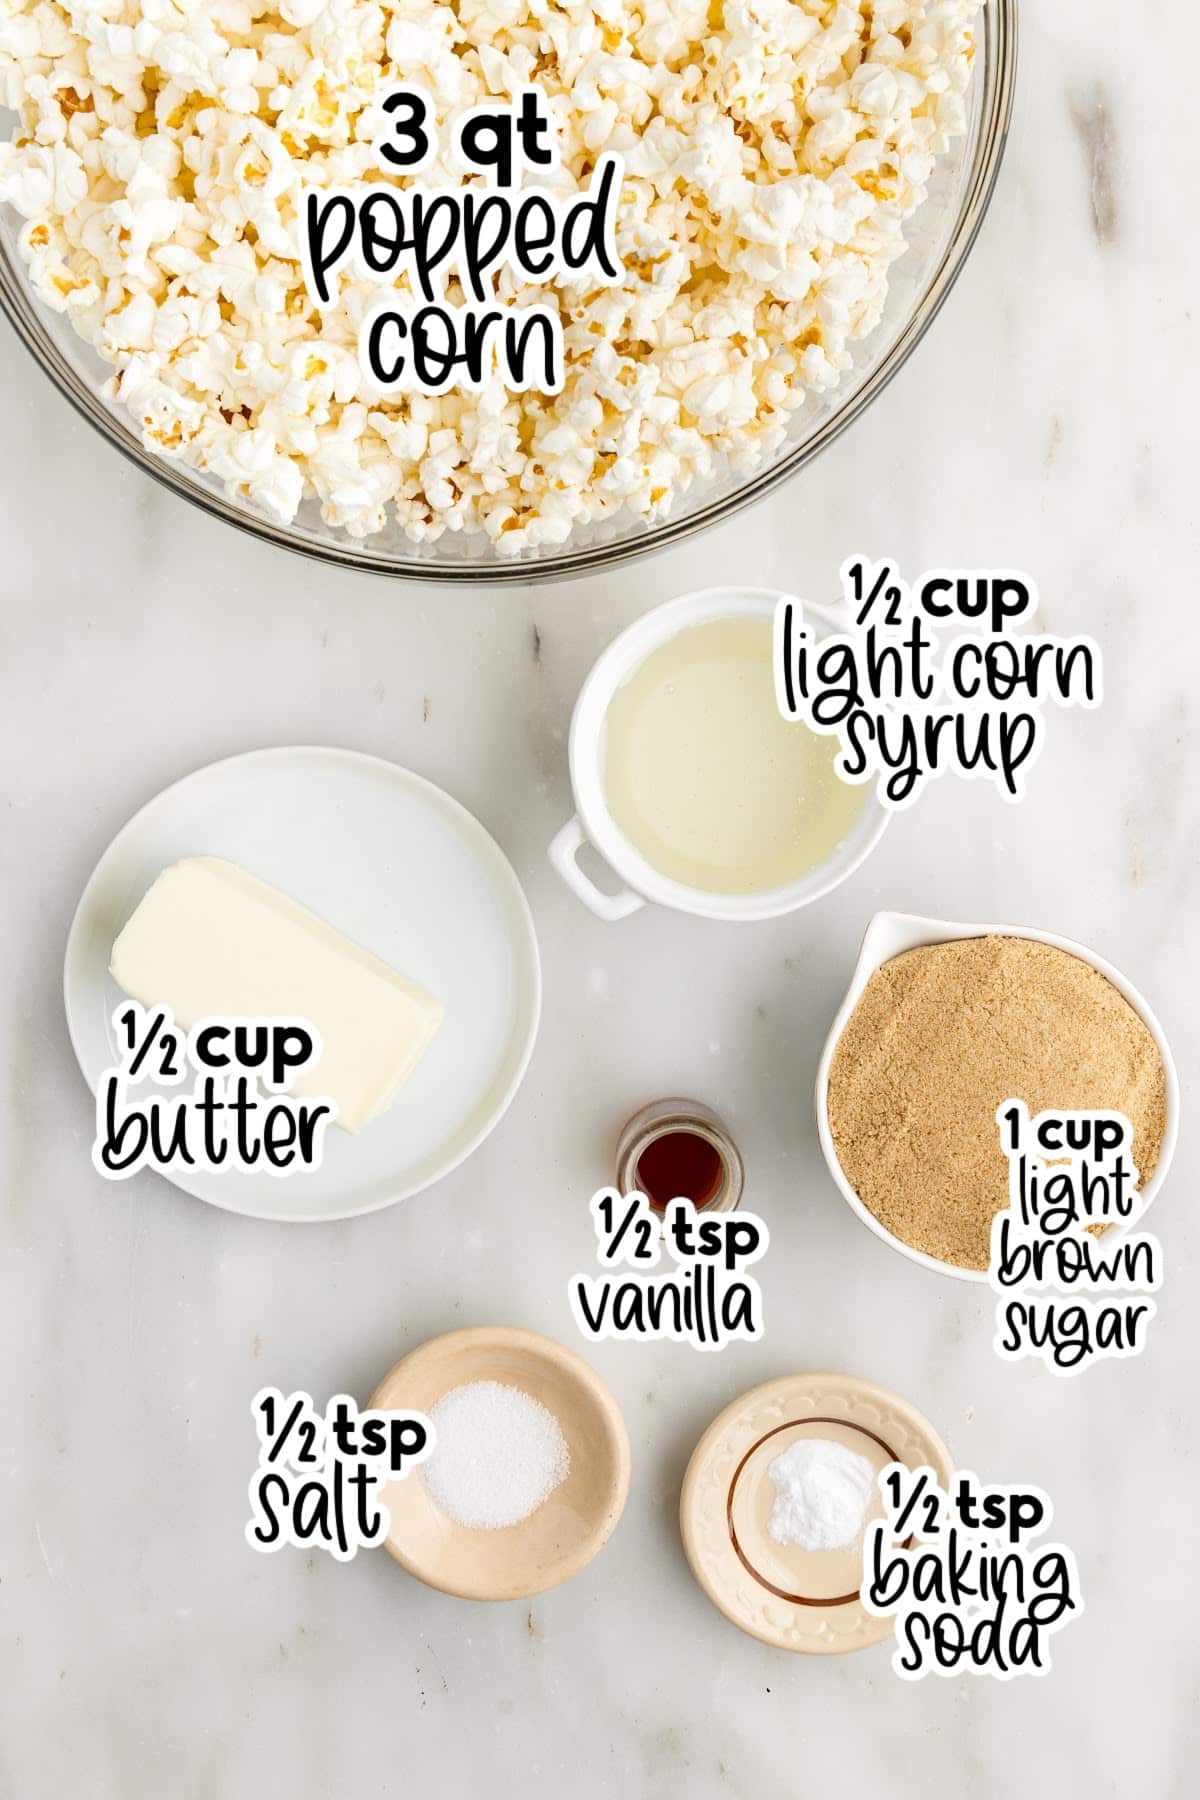
- Popped corn – You’ll need to pop the corn ahead of time and keep it warm while you make the sauce. Be sure to use plain popped corn, it should not have any butter or salt on it. I pop my corn kernels in a large pot on the stove top with just a touch of vegetable oil to keep the kernels from sticking to the pan. If you have an air popper, that works perfectly.
- Brown sugar – Light brown sugar to give it a deeper flavor than white sugar but not too deep of a molasses taste.
- Corn syrup – Light corn syrup, used to help keep the sugar from crystalizing so it stays nice and smooth.
- Butter – Needed for a lovely, velvety, buttery-rich texture. Can use unsalted or salted, but the former will allow for easier control of how much salt you add in there.
- Salt & Vanilla – for flavor
- Baking soda – Used to get a light airy texture to the caramel corn. When the baking soda hits the hot brown sugar and corn syrup (acidic ingredients), the chemical reaction creates air bubbles (carbon dioxide) which aerate the caramel. This results in a light and extra brittle coating. So when you bite into the caramel corn, the coating is crisp and it dissolves quickly on the tongue. This is truly the magical ingredient that makes all the difference in a perfect caramel corn.
For a full list of ingredients and their measurements, 📋 please view my printable recipe card at the bottom of the post.
Substitutions and Variations
- Once you have a handle on this basic recipe, you can then start to add in things like nuts, chocolate chips, skittles, or any of your favorite add-ins! Consider peanuts, pecans, cashews, almonds, chocolate pieces, raisins, pumpkin seeds, candies, whatever you think would make a good mix of flavors and textures.
- Drizzle with melted chocolate or colored candy coating (candy melts) once cooled.
- For a festive twist, toss in holiday candies or sprinkle with sea salt for extra crunch.
🔪 Instructions:
PREP: Air pop corn kernels to make 3 quarts of popcorn. Do not add salt or butter.
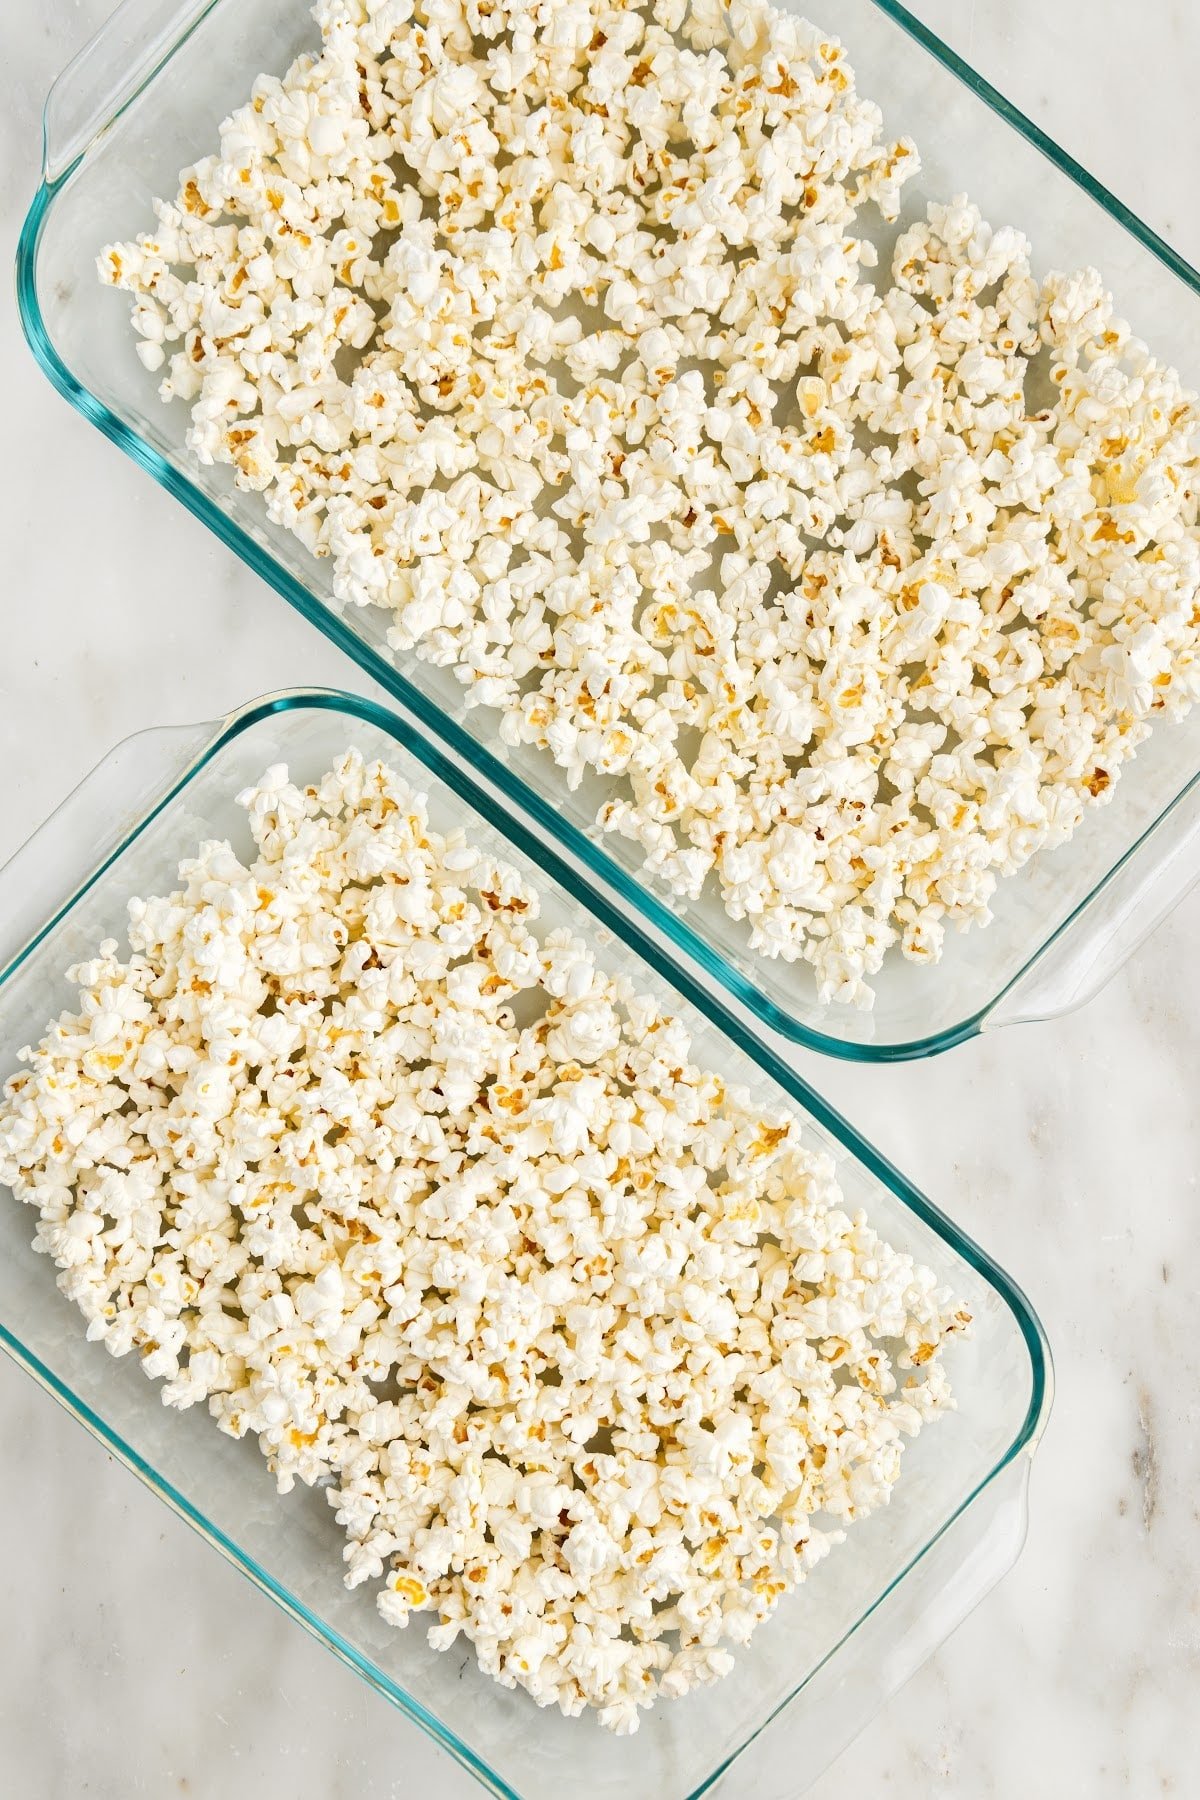
Step 1: Place popped corn in a shallow baking pan in a 250°F oven while making the caramel. (I divide the popped corn between two 9×13 pans; glass or metal work fine).
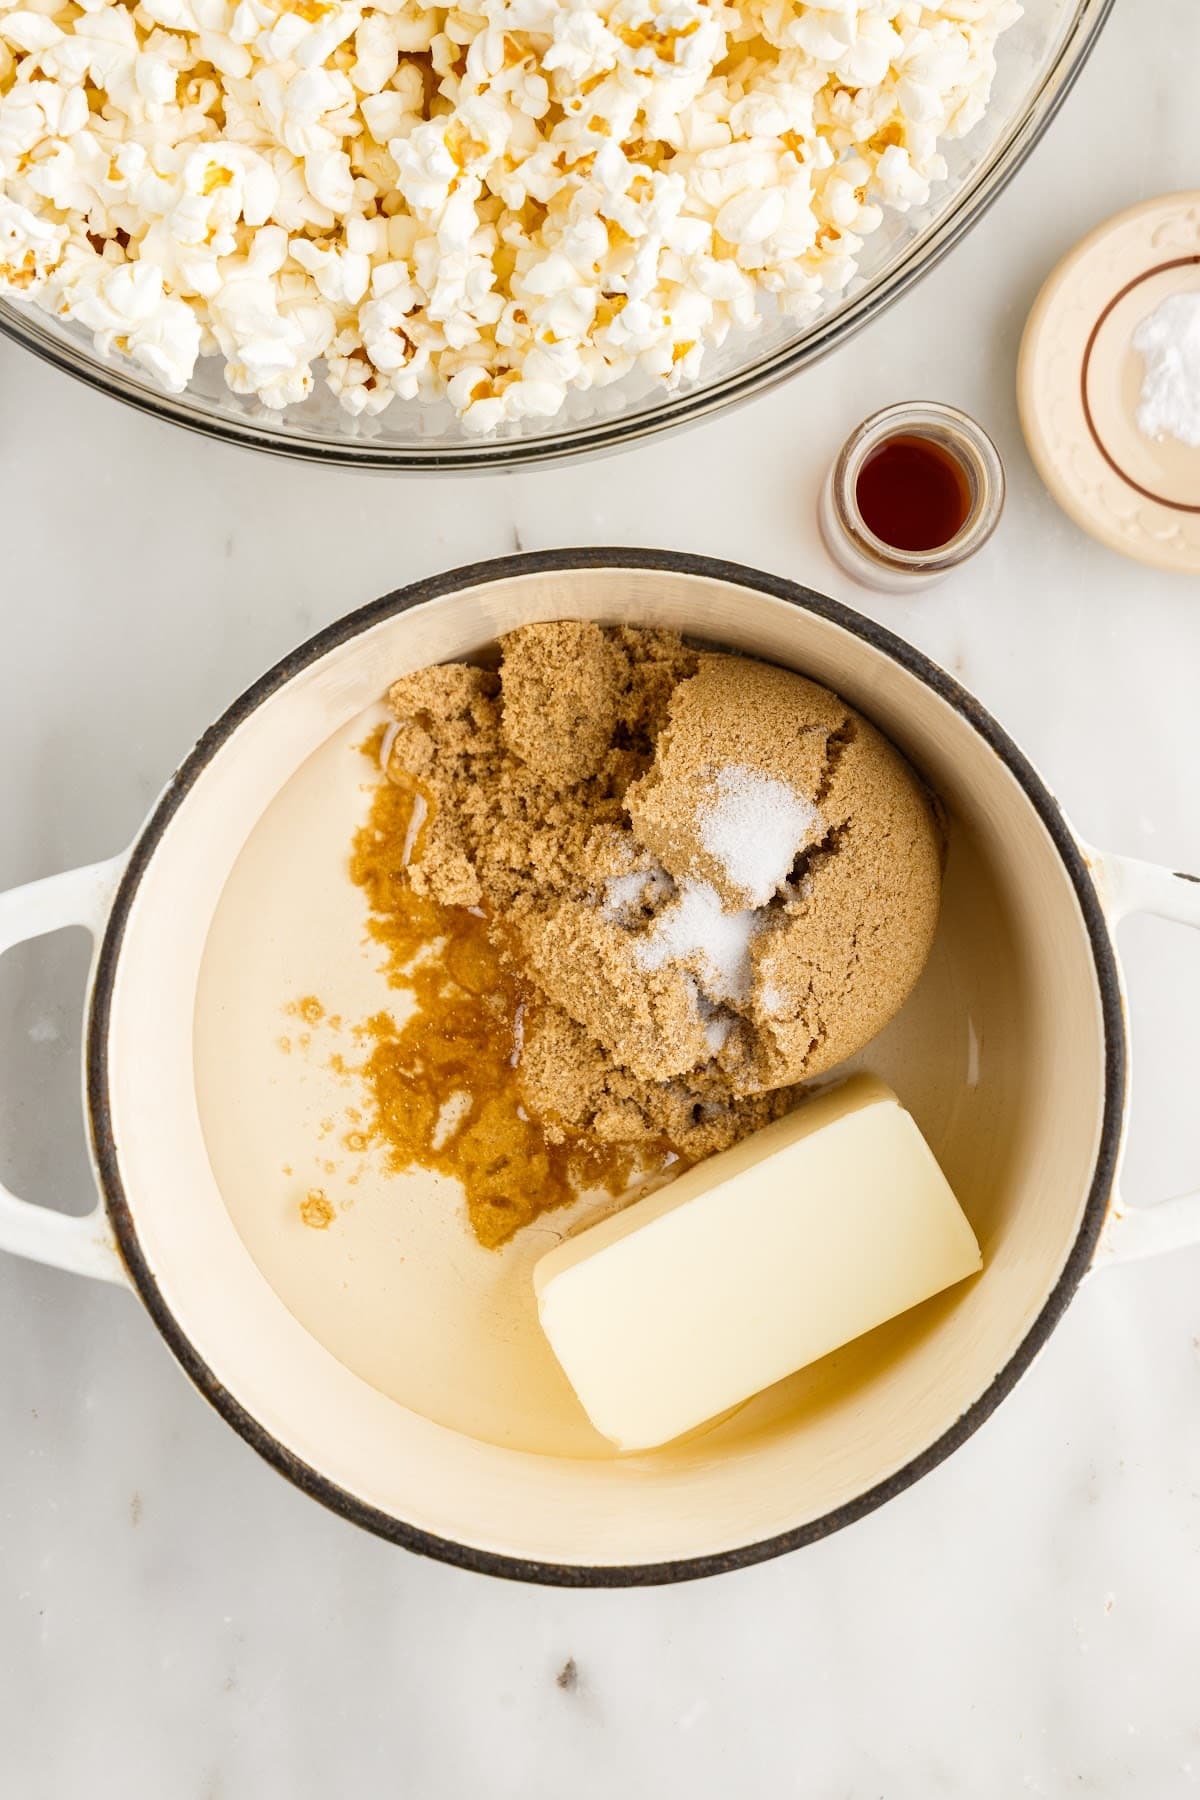
Step 2: In a medium saucepan, mix together the brown sugar, corn syrup, butter, and salt.

Step 3: Stirring constantly over medium heat, bring the mixture to a boil. Once it starts boiling (really boiling), stop stirring and set the timer for 5 minutes.
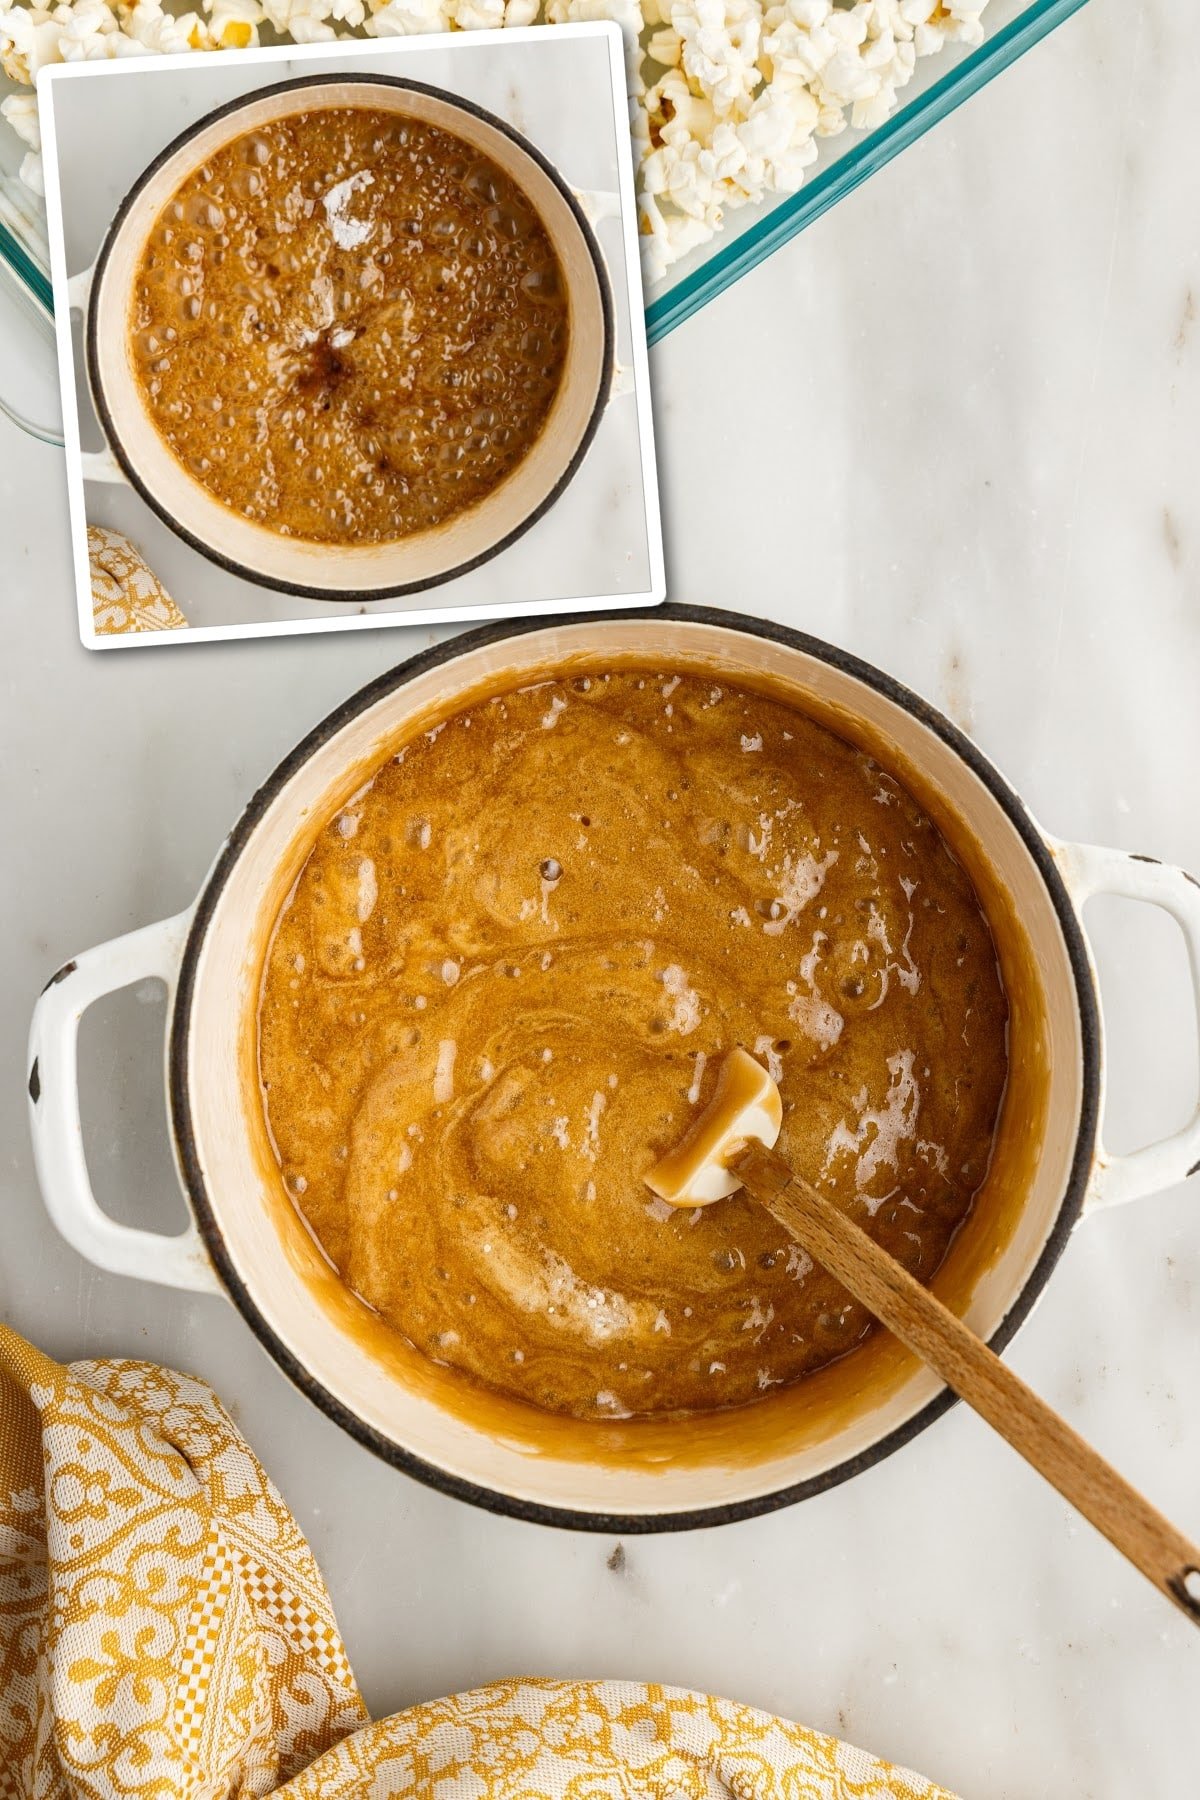
Step 4: Remove from heat and stir in the vanilla extract and baking soda.
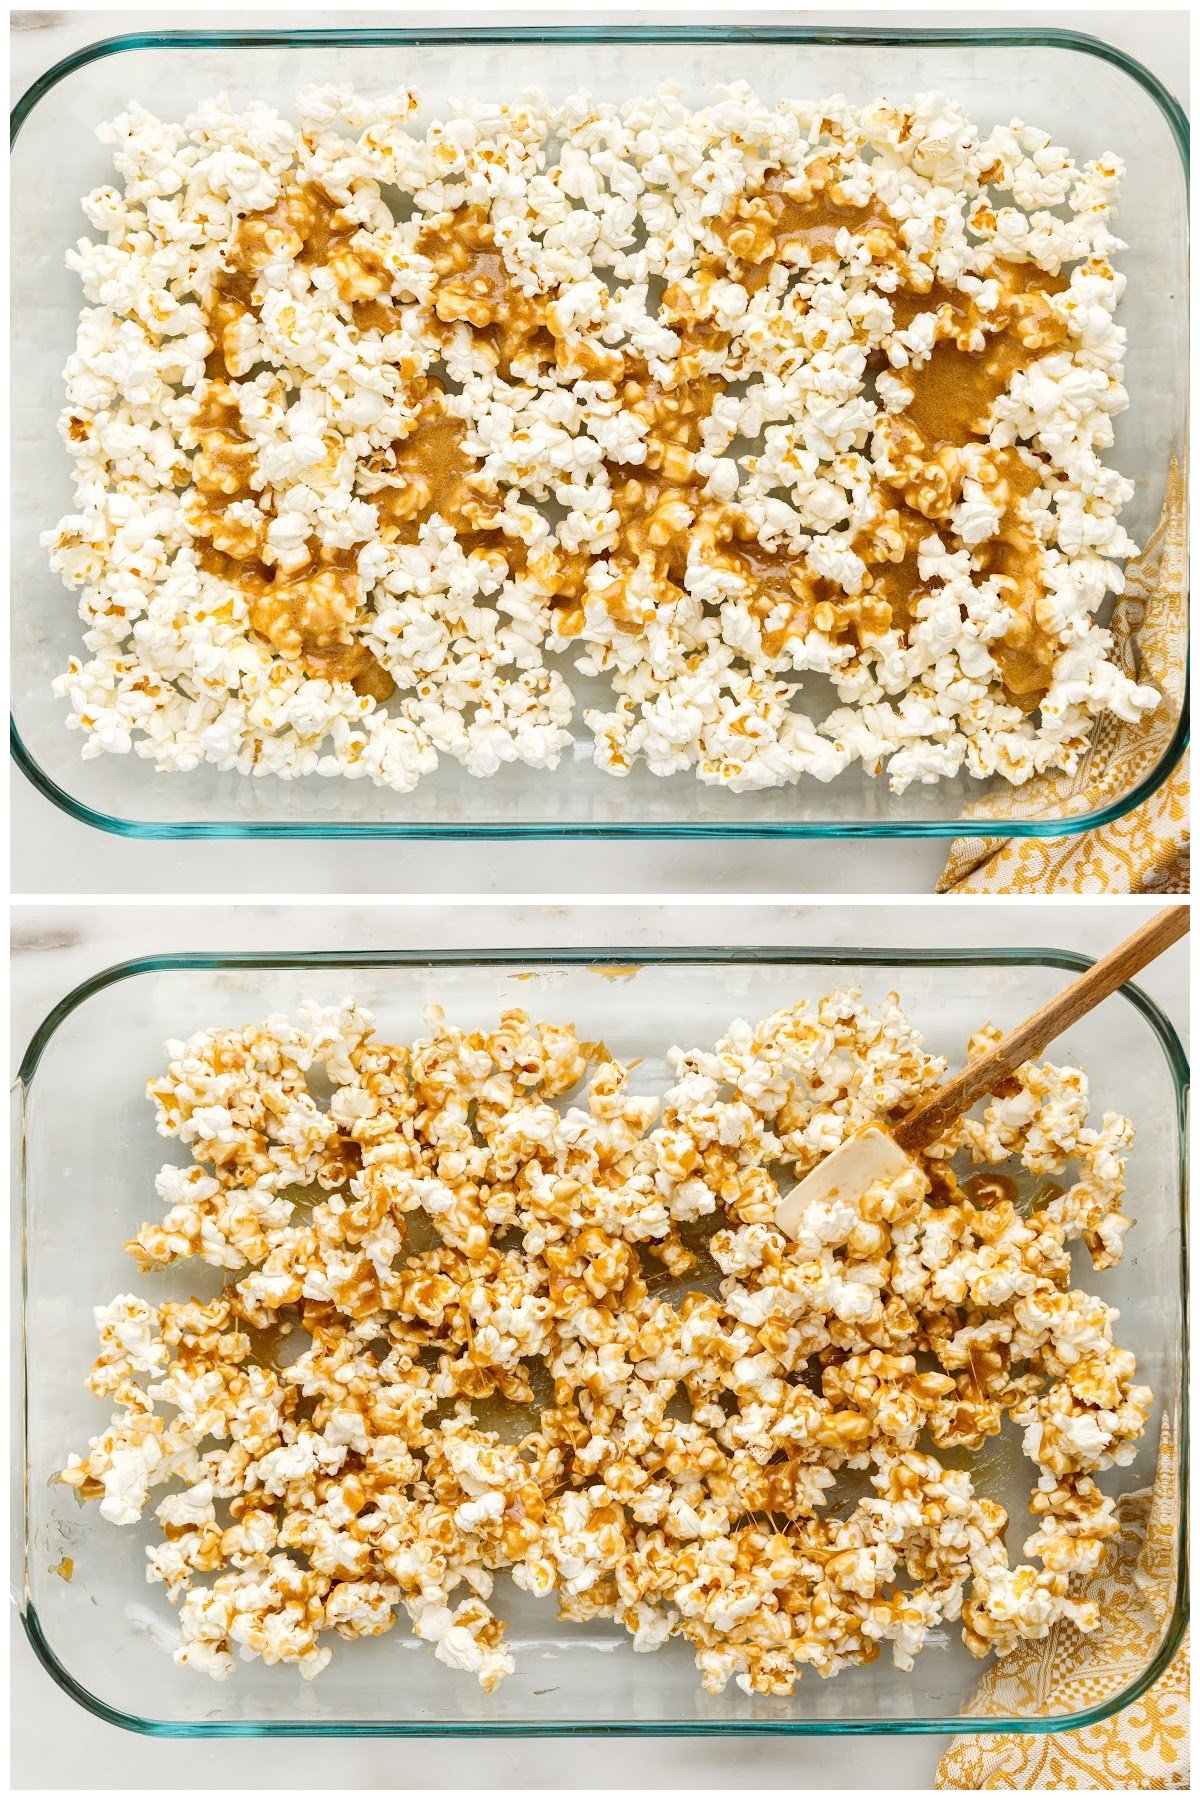
Step 5: Divide the caramel between the two pans of popped corn and stir it to coat evenly. (If you have a large pan, that will work, too. If your pans are too full, the popcorn tends to topple out when stirring.
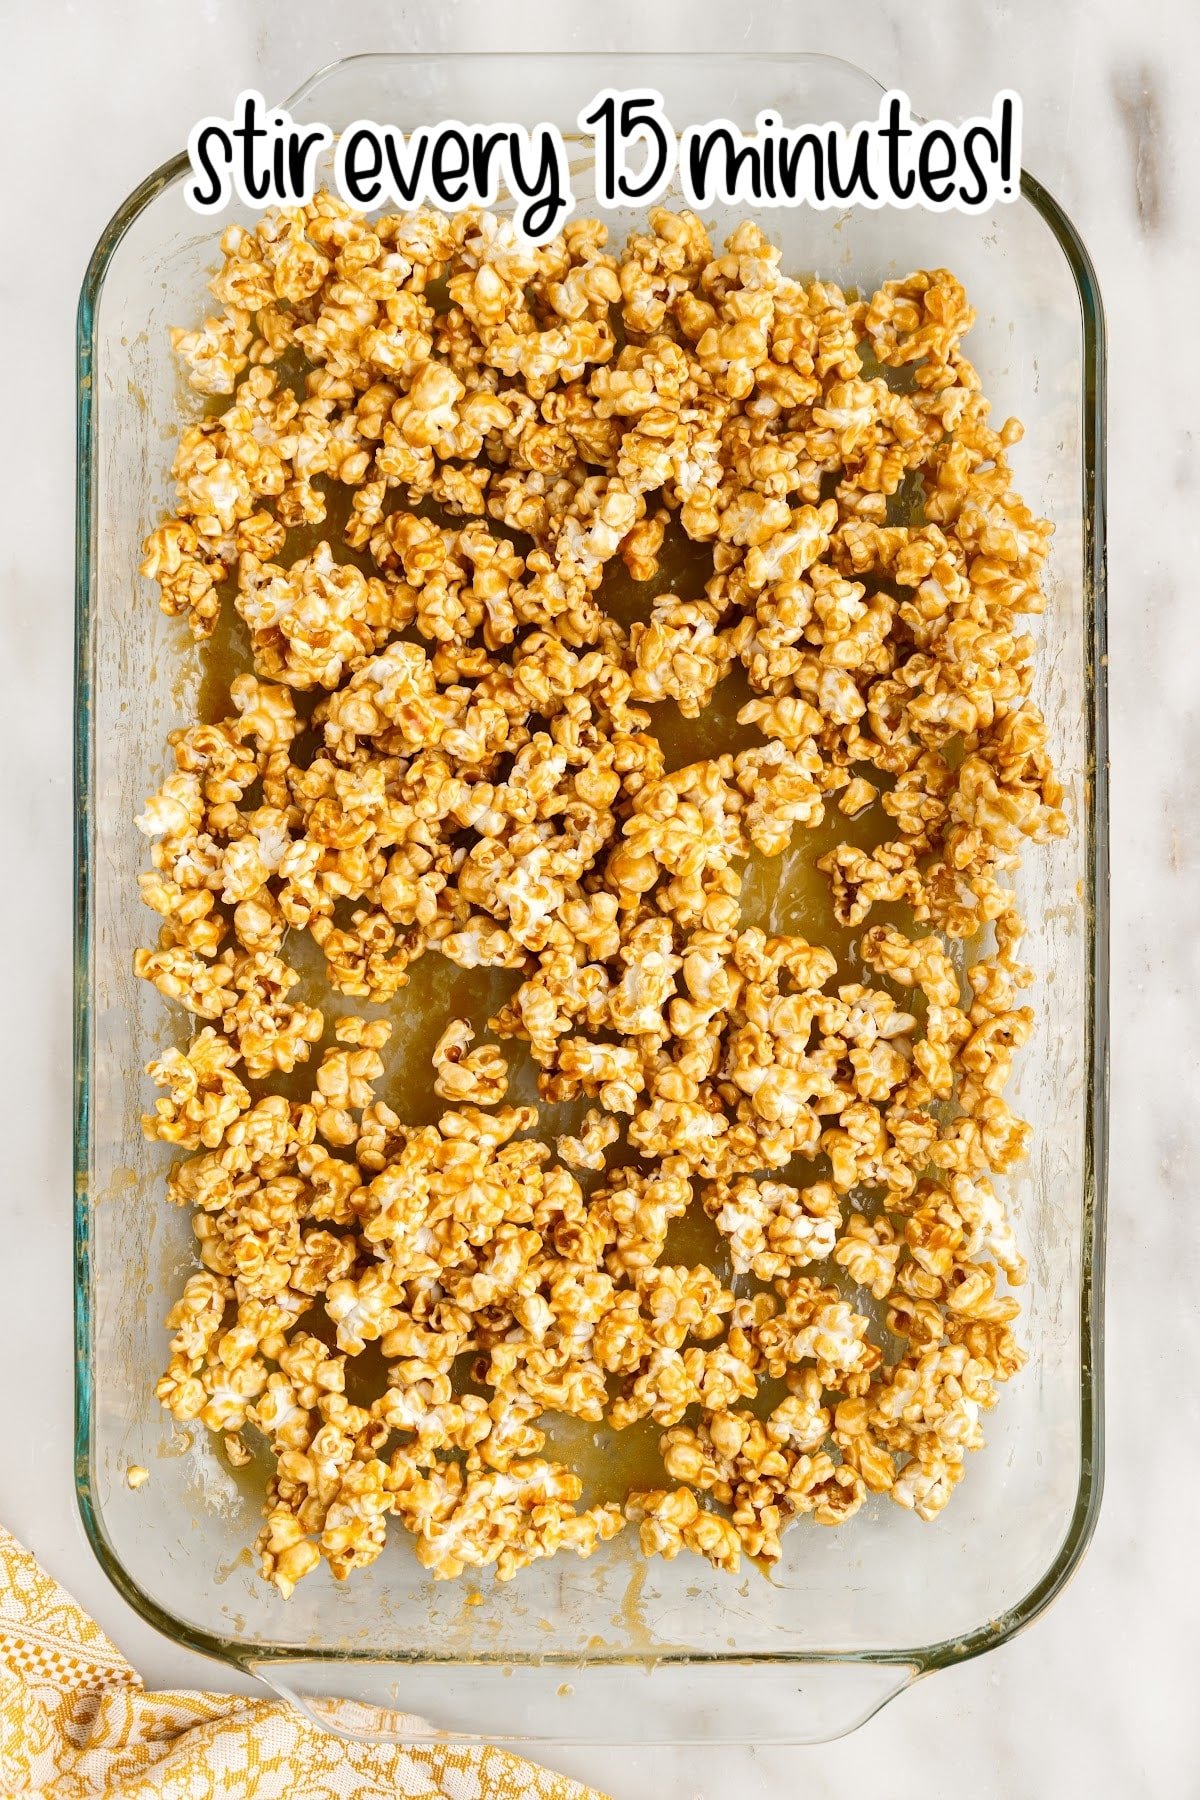
Step 6: Bake at 250°F for a total of one hour, stirring it every 15 minutes. The warm oven keeps the caramel soft and liquid so that every time you stir, the popcorn gets coated more uniformly.
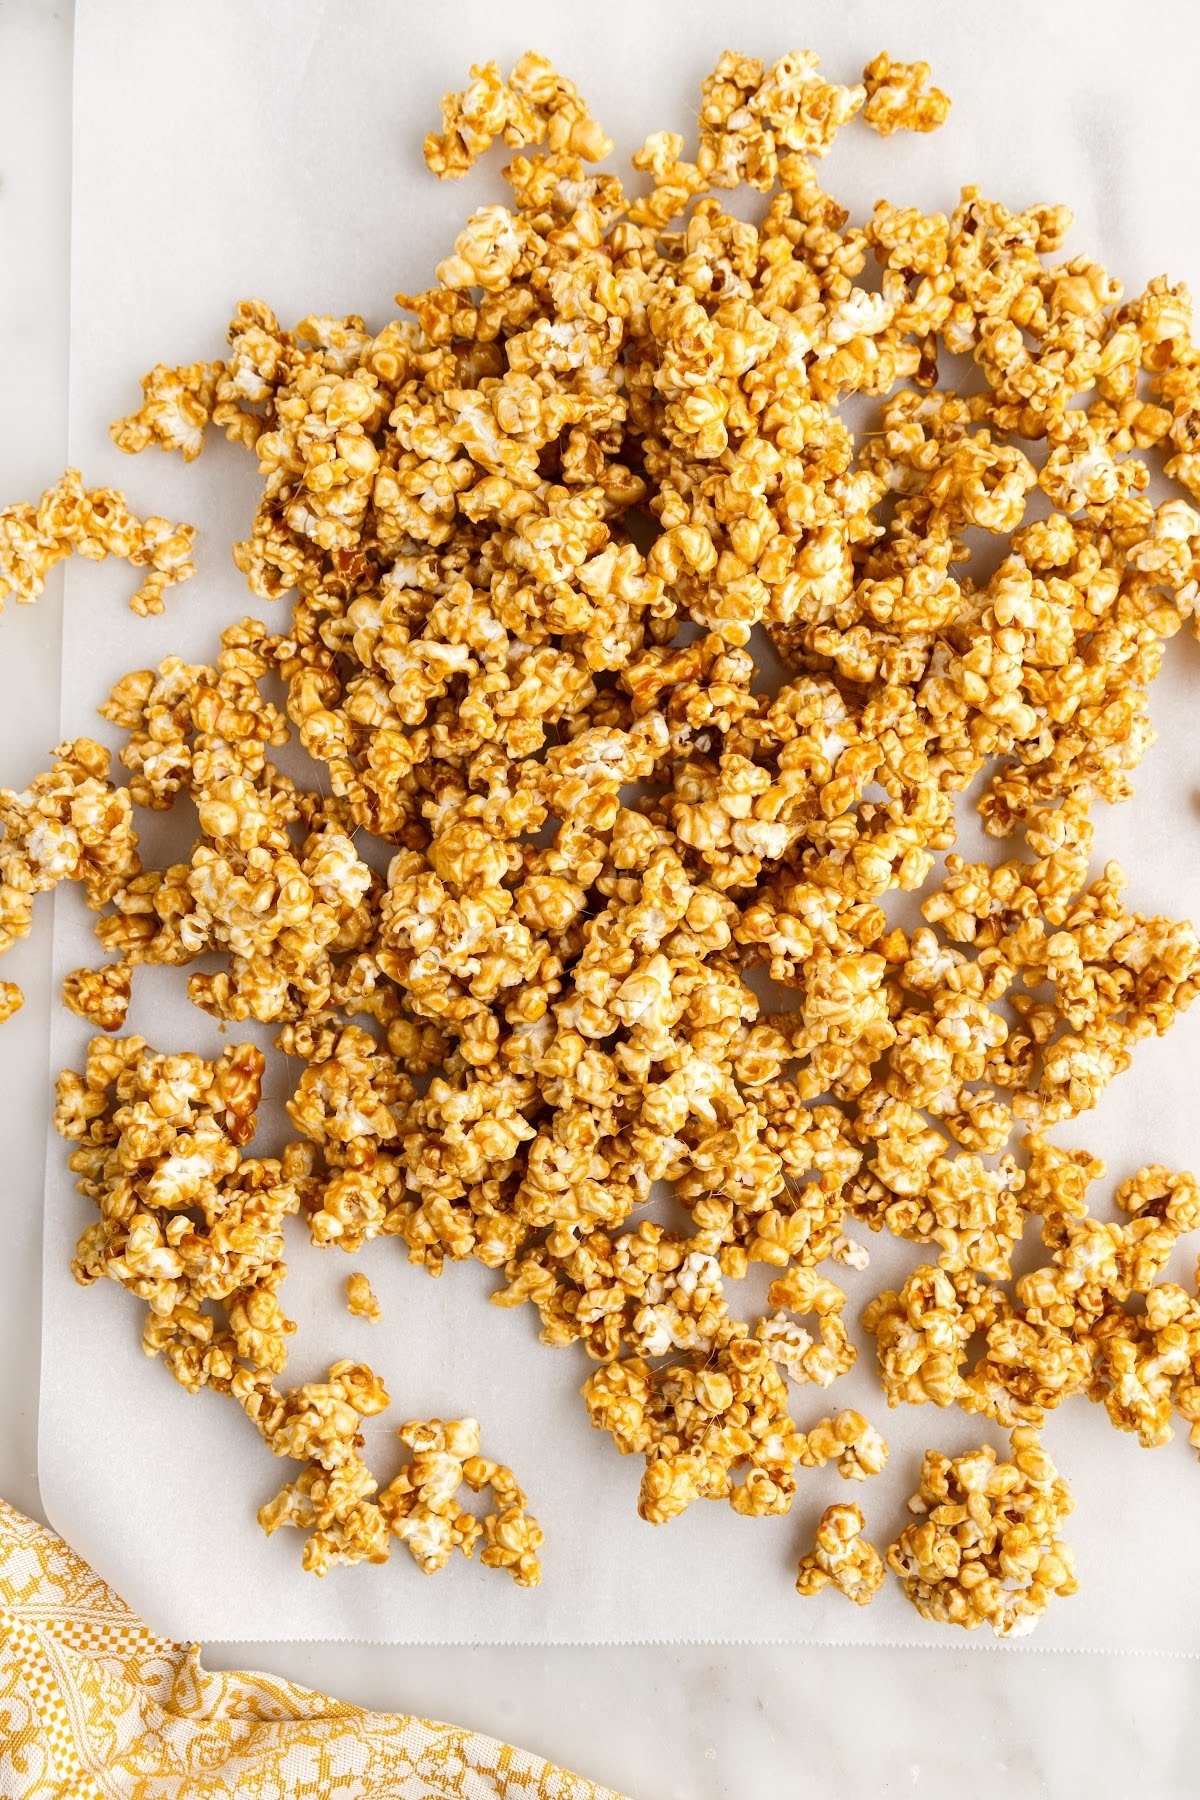
Step 7: After one hour, remove the caramel corn from the oven and immediately dump it out onto the countertop (dump onto parchment paper for easy clean-up.
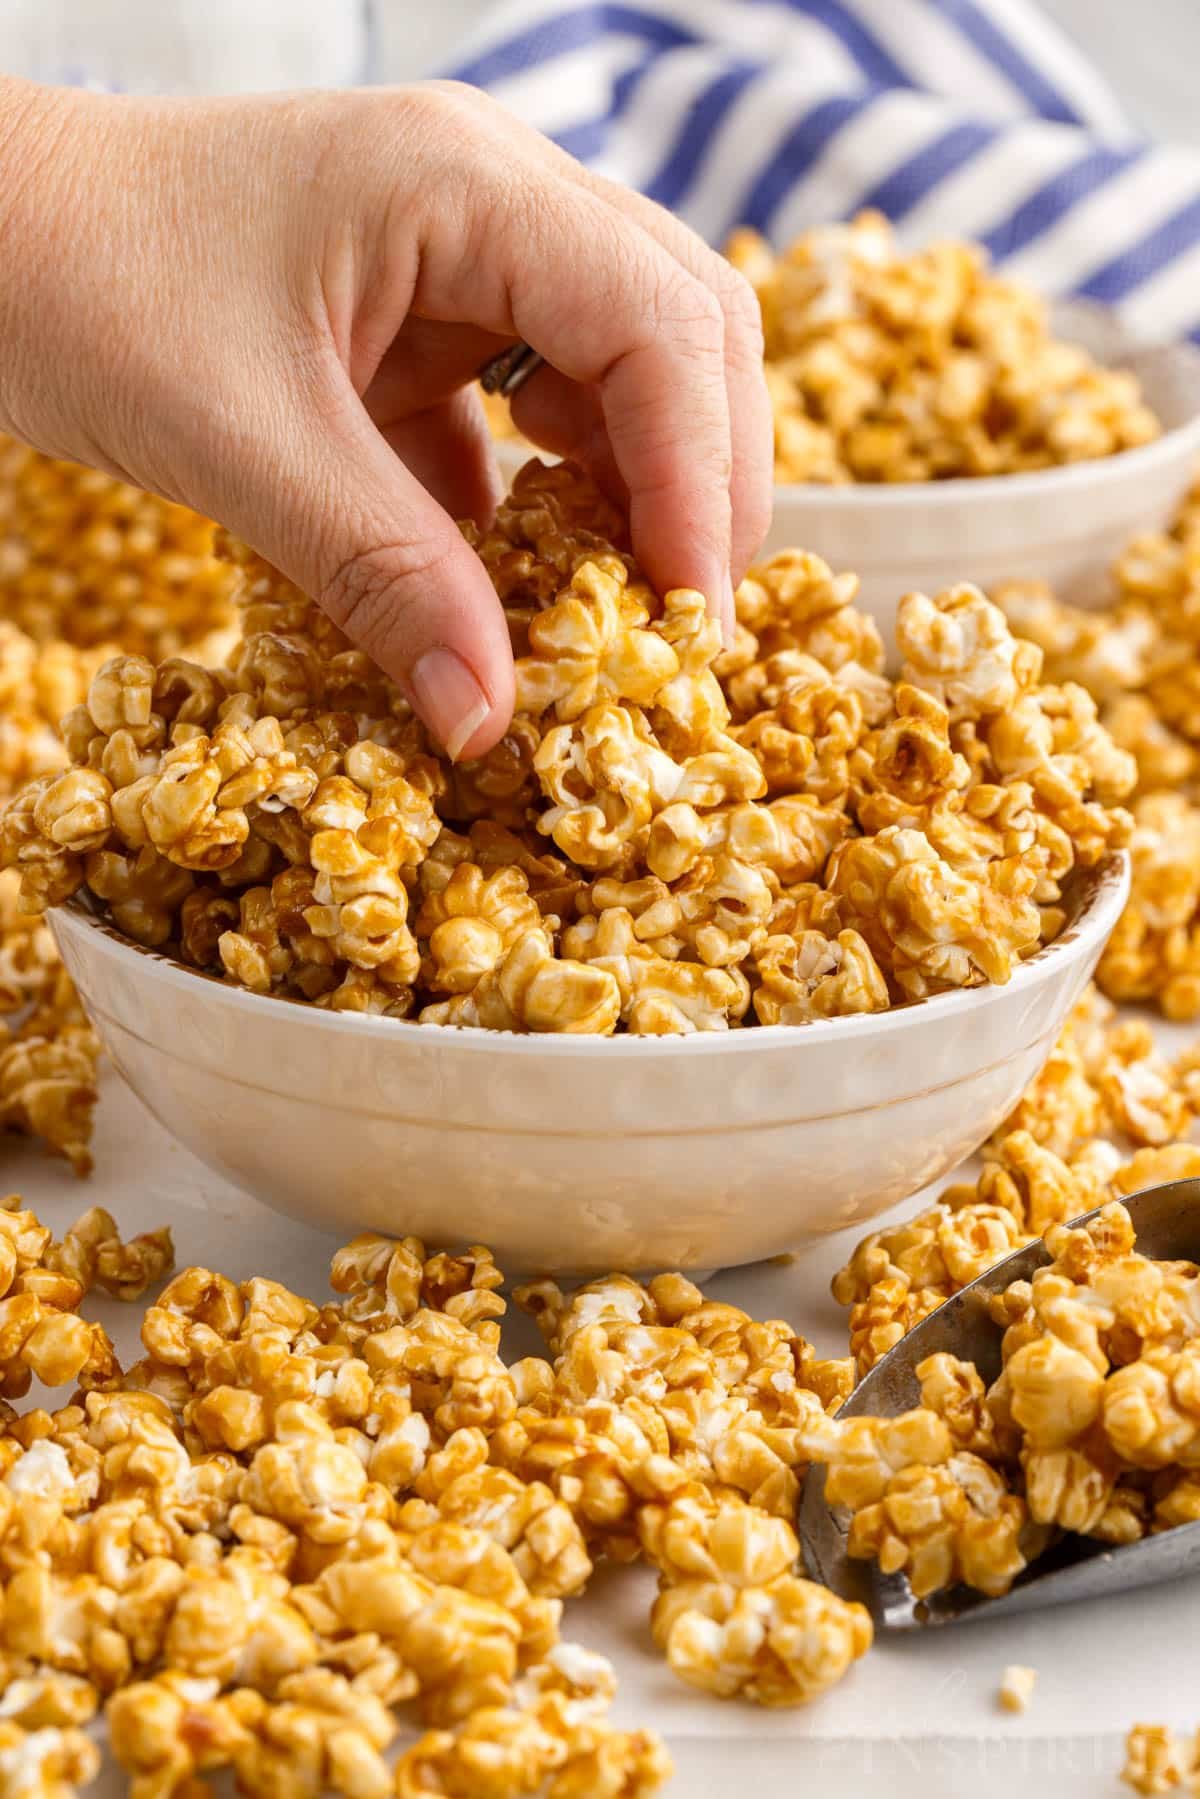
SERVE: Allow the caramel corn to cool, break it apart, and start eating!
Caramel Corn Recipe Tips
- Pop your popcorn ahead of time, but take care not to burn it. You can’t hide burnt popcorn even if your caramel is uber delish.
- To get rid of the unpopped kernels, place the batch on a cooling rack above a baking sheet. The unpopped kernels should fall through the grate, but the popped kernels will remain on top.
- If using microwaved popcorn make sure it’s plain without any flavor. Not even butter!
- You can make your own plain microwave popcorn by putting a couple tablespoons of popcorn kernels and a dash of vegetable oil into a brown paper lunch sack. Fold over the top and microwave until there are a couple seconds between pops. Repeat until you have 3 quarts of popped corn.
- Keep an eye on your caramel as it boils and keep stirring. Burnt caramel is not a good time and a hassle to start over.
- For maximum flavor, use brown sugar not white. Stick to the recipe as written – the ratios and ingredients are tested and perfected for a successful texture. If you adjust something, you may end up with sticky or heavy caramel corn.

Recipe FAQs
Caramel and butterscotch are generally made with the same ingredients, but caramel is typically used with white sugar, whereas butterscotch is made with brown sugar. This caramel corn, as with most caramel corn recipes, is made with brown sugar. It seems to be one of those situations where two recipes have become so interchangeable, that there is no right or wrong way to make one or the other anymore. No, officially, they are not the same thing.
Keep it stored in an airtight container for up to 2 weeks at room temperature. My mom always used a gigantic Tupperware bowl, which provides a tight seal. I usually store the caramel corn popcorn in gallon size Ziploc bags.
If you tried this Caramel Corn Recipe or any other recipe on my website, please leave a 🌟 star rating and let me know how you liked it in the 📝 comments below.

Caramel Corn
Ingredients
- 3 quarts popped corn (12 cups)
- 1 cup packed light brown sugar
- ½ cup light corn syrup
- ½ cup butter
- ½ teaspoon salt
- ½ teaspoon vanilla
- ½ teaspoon baking soda
Instructions
- Place popped corn in a shallow baking pan in a 250 degree oven while making the caramel. (I divide the popped corn between two 9×13 pans, glass or metal work fine).
- In a medium saucepan, mix together the brown sugar, corn syrup, butter, and salt.
- Stirring constantly over medium heat, bring the mixture to a boil. Once it starts boiling (really boiling), stop stirring and set the timer for 5 minutes.
- Remove from heat and stir in the vanilla extract and baking soda.
- Divide the caramel between the two pans of popped corn and stir it to coat evenly.
- Bake at 250°F for a total of one hour, stirring it every 15 minutes.
- After one hour, remove the caramel corn from the oven and immediately dump it out onto the countertop (dump onto parchment paper for easy clean-up. Allow the caramel corn to cool, break it apart, and start eating!
Would you like to save this?
Notes
- Pop your popcorn ahead of time, but take care not to burn it. You can’t hide burnt popcorn even if your caramel is uber delish.
- To get rid of the unpopped kernels, place the batch on a cooling rack above a baking sheet. The unpopped kernels should fall through the grate, but the popped kernels will remain on top.
- If using microwaved popcorn make sure it’s plain without any flavor. Not even butter!
- You can make your own plain microwave popcorn by putting a couple tablespoons of popcorn kernels and a dash of vegetable oil into a brown paper lunch sack. Fold over the top and microwave until there are a couple seconds between pops. Repeat until you have 3 quarts of popped corn.
- Keep an eye on your caramel as it boils and keep stirring. Burnt caramel is not a good time and a hassle to start over.
- For maximum flavor, use brown sugar not white.
- Store in an airtight container. Even a couple hours of exposure to the air can turn your caramel corn sticky and stale.
Nutrition
Make this recipe?
Share it with me on Instagram @girlinspired1 and follow on Pinterest for more!


Comments & Reviews
Stefanie says
I’ve been making this recipe since I was a kid with my mom. It is truly the best caramel corn and I hope you’ll enjoy making and eating it, too!