
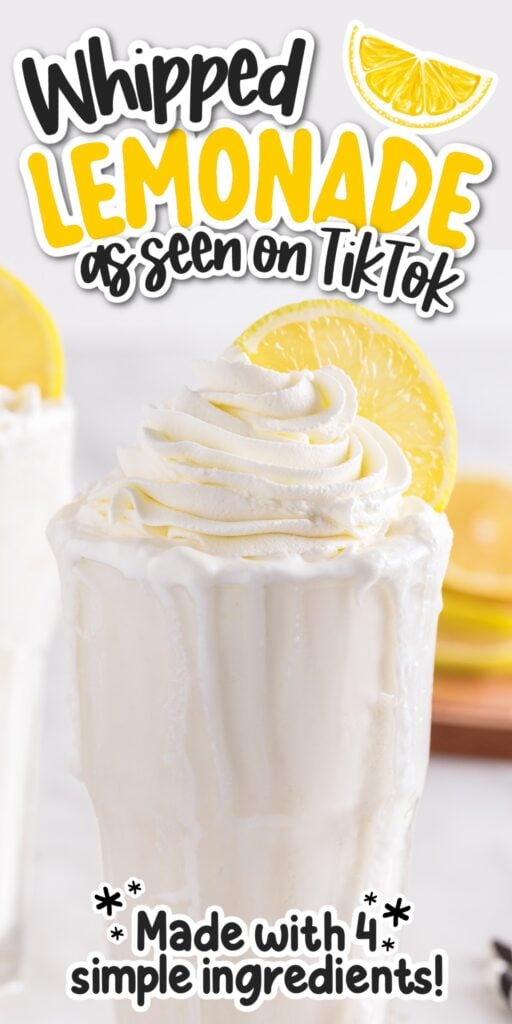
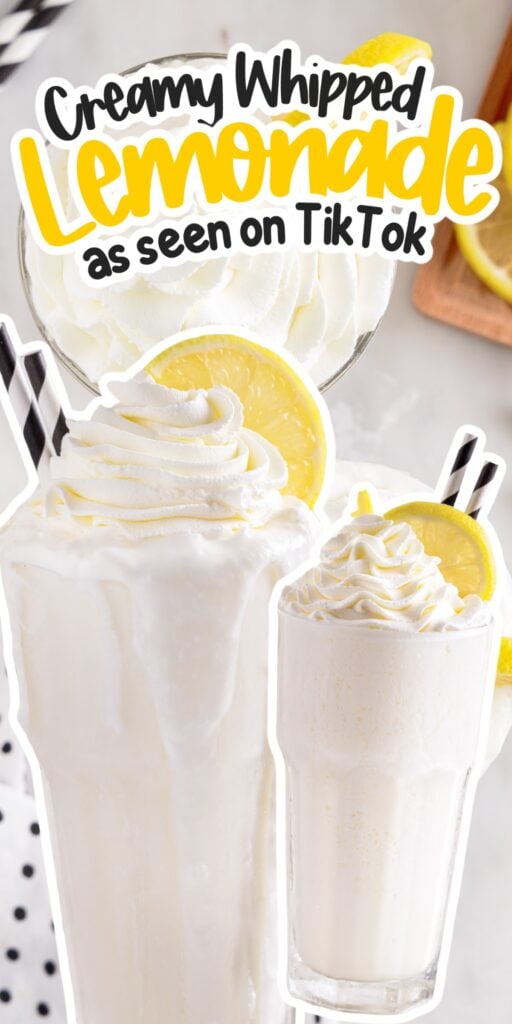
If you’re a fan of an ice-cold glass of homemade Country Time lemonade on a hot summer day, you’re going to love this Whipped Lemonade recipe. Whipped lemonade tastes like a creamy and frothy version of traditional lemonade. The tangy and zesty flavor of freshly squeezed lemon juice is balanced with sweetness from the creamy sweetened condensed milk and whipped cream. Blended with ice, the whipped lemonade has a rich and velvety thick texture, creating a delightful combination of flavors and mouthfeel.

I must admit that when TikTok became such a popular platform I didn’t really think there would be so many delicious recipes to come from it. Remember when dalgona coffee and hot chocolate bombs took the world by storm when we were all locked in our houses? Tiktok users took lemonade to the next level!
One of my most recent obsessions has been this addicting booty dip which is another TikTok fave… and of course all things lemon because it’s citrus season! You may not find my Lemon Cream Cheese Cookie Bars or Lemon Cheesecake trending now, but they are so delicious they should be!
Jump to:
What is Whipped Lemonade?
So what is whipped lemonade anyway? You can almost think of it as a lemonade float that uses heavy whipping cream instead of ice cream. There are tangy flavors from the fresh lemon juice with a combination of the sweet creaminess of a milkshake from the heavy whipping cream and sweetened milk. Ice thickens the drink and gives it a frothy texture.
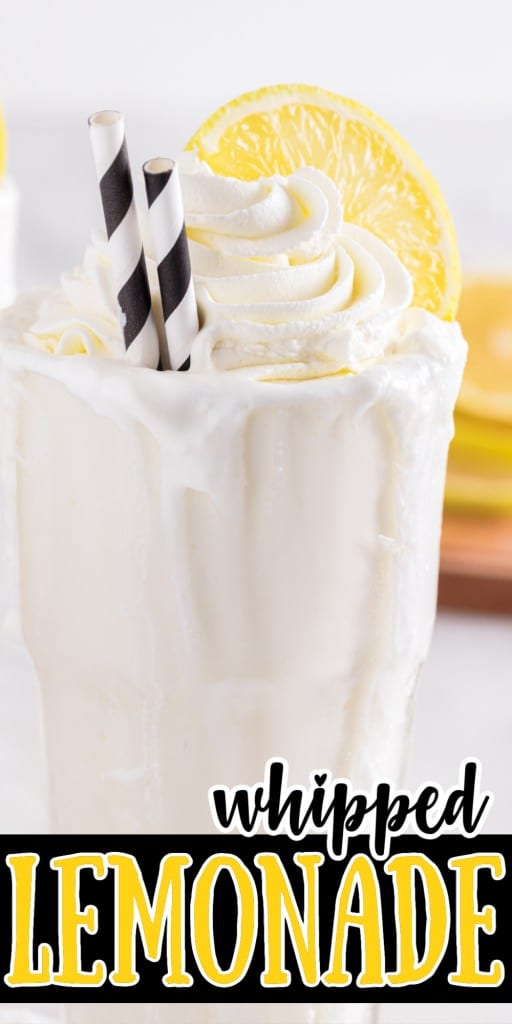
Just so you know, the best results are when you use a high powered blender like Vitamix, even though we see some people testing out a hand mixer or handheld milk frother. I tested every method possible, and the end result is best with a blender. Top your tasty treat with a lemon slice and you have one of the best lemonade drinks around!
🍋 Ingredients:
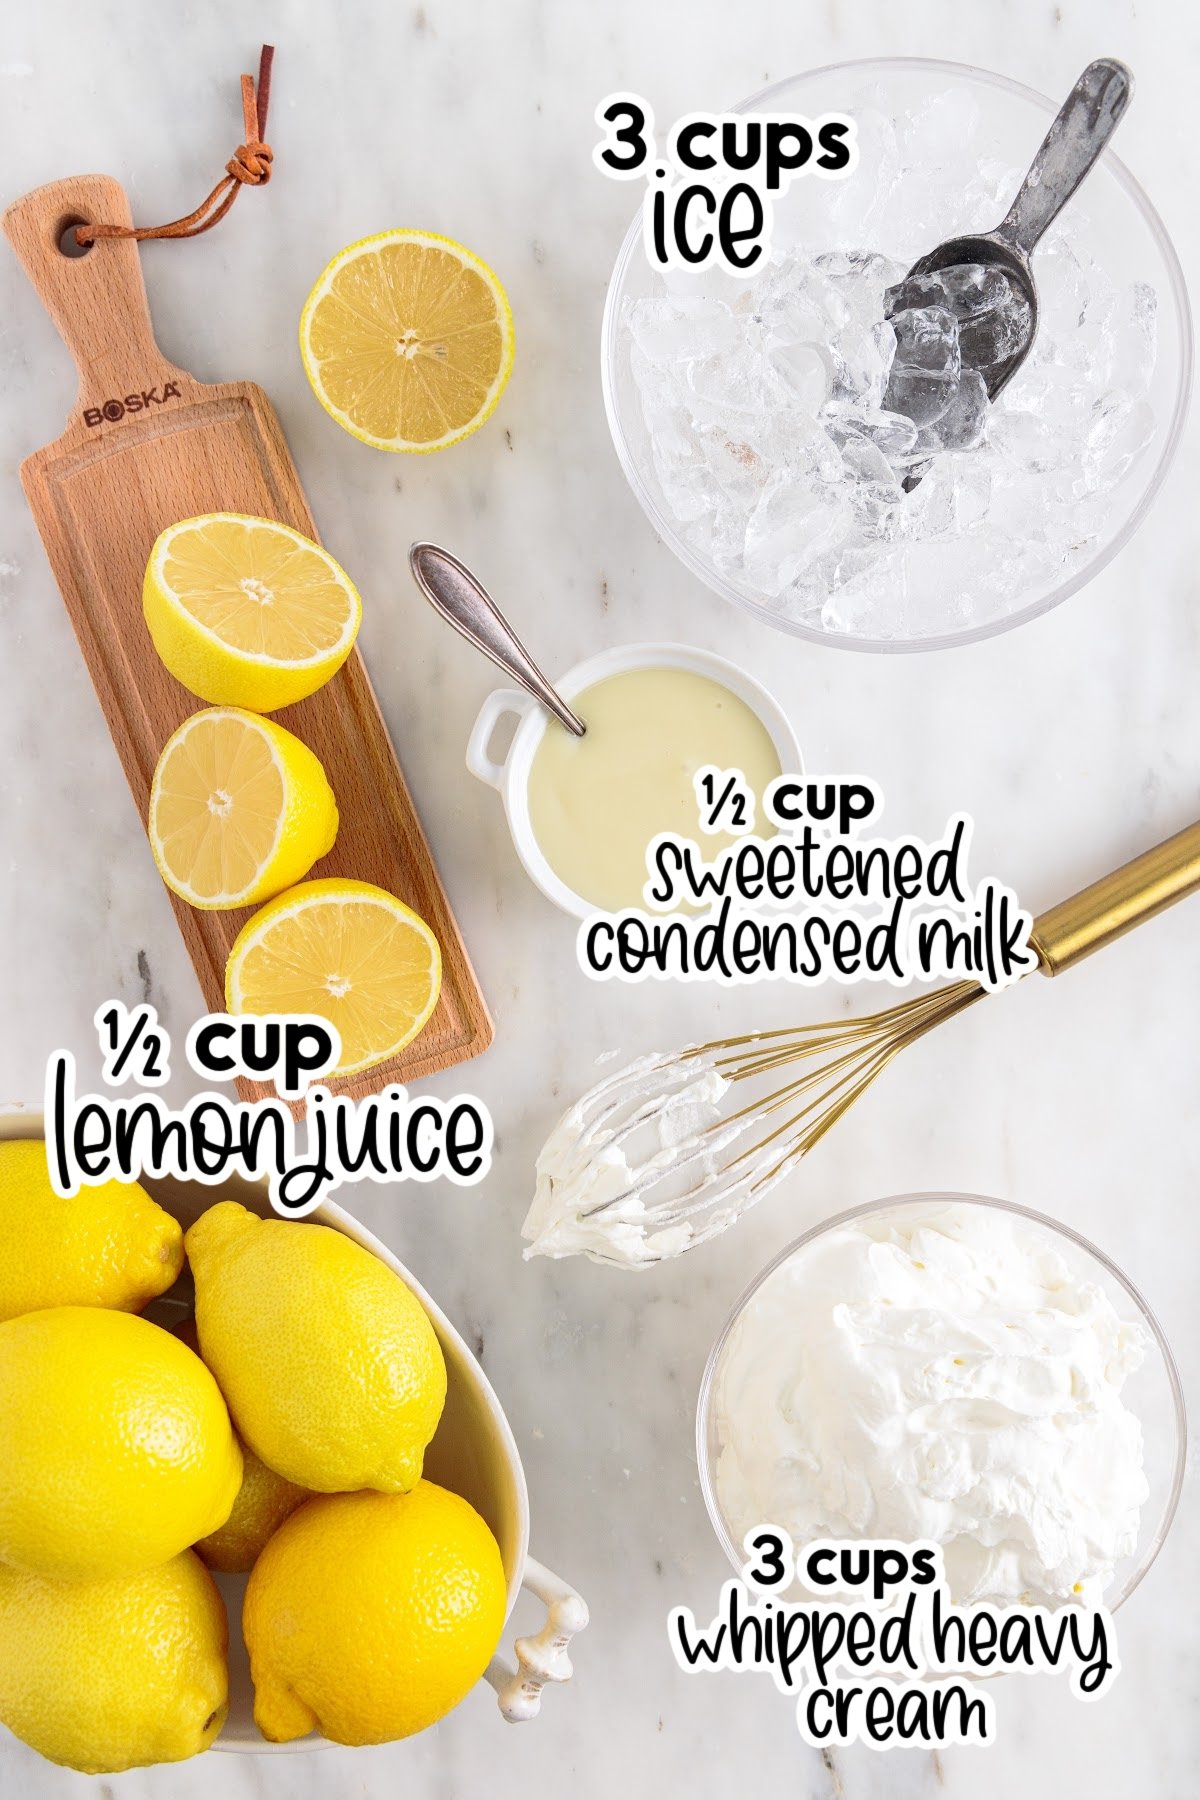
- 3 cups whipped heavy cream (1 ½ cups heavy cream should double in volume to 3 cups), divided
- ½ cup freshly squeezed lemon juice
- ½ cup sweetened condensed milk
- 3 cups ice
For a full list of ingredients and their measurements, 📋 please view my printable recipe card at the bottom of the post.
Optional Garnish Ideas:
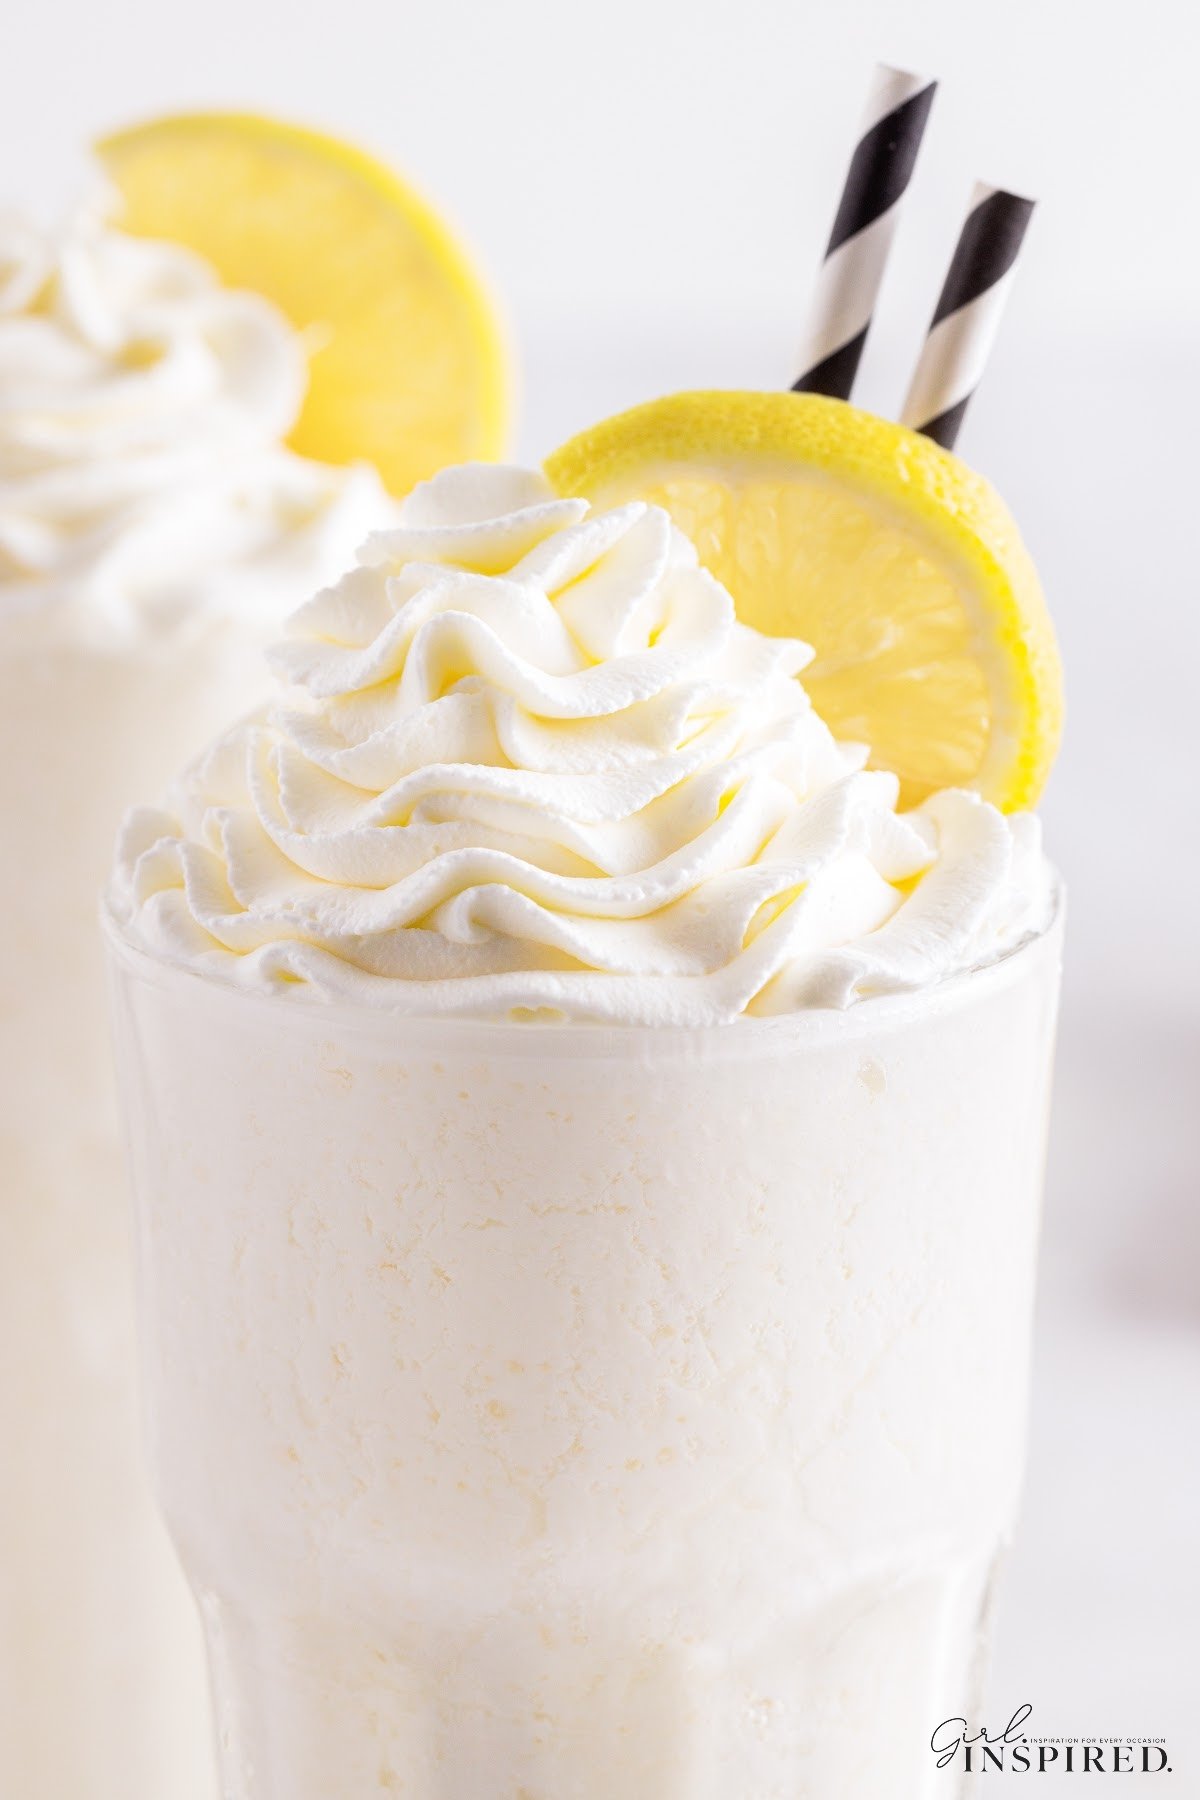
We top our whipped lemonade with an extra dollop of whipped cream and a slice of citrus, but here are some other options if you want to get creative!
- Edible Flowers: Decorate your whipped lemonade with edible flowers like lavender, violets, or nasturtiums, making it visually stunning.
- Coconut Flakes: Sprinkle some toasted or untoasted coconut flakes on top to give your whipped lemonade a tropical touch.
- Cinnamon or Nutmeg: A pinch of ground cinnamon or nutmeg can be sprinkled over the whipped cream for warm and comforting flavors.
- Honey Drizzle: Instead of sugar or simple syrup, sweeten your lemonade with honey and drizzle a little extra on top as a finishing touch.
- Crushed Graham Crackers: Crushed graham crackers can be sprinkled on top to create a lemon meringue pie-inspired whipped lemonade.
Equipment Needed:
Best results are when you use a high powered blender like Vitamix, even though we see some people testing out a hand mixer or handheld milk frother. I tested every method possible, and the end result is best with a blender. Top your tasty treat with a lemon slice and you have one of the best lemonade drinks around!
Substitutions and Variations
- For sweeter lemonade: Add more sweetened condensed milk.
- Substitute lemonade powder: We love the fresh taste of the lemon juice, but you can also use a powdered lemonade mix such as Kool-Aid or Country Time. Adjust the amount of sweetened condensed milk to compensate for the added sugar in those mixes.
- Vegan Alternative: To make whipped lemonade dairy free, use coconut whipped cream. To make your own mix together a can of coconut cream (or coconut milk), with a ½ cup of powdered sugar. Blend until you get stiff peaks.
- Sweeter whipped topping: Add 2 tablespoons of confectioner’s sugar to the remaining whipped cream and whisk it together for a sweeter version.
- Use Cool Whip: Don’t want to make your own whipped cream? Try using store-bought instead.
- Other flavors: To make whipped strawberry lemonade add ¾ cup of frozen strawberries to the blender. You can also do this for a raspberry version.
🔪 Instructions:
PREP: You MUST whip the heavy cream in advance. Use the whisk attachment on a standing mixer and whip cold cream until stiff peaks form.
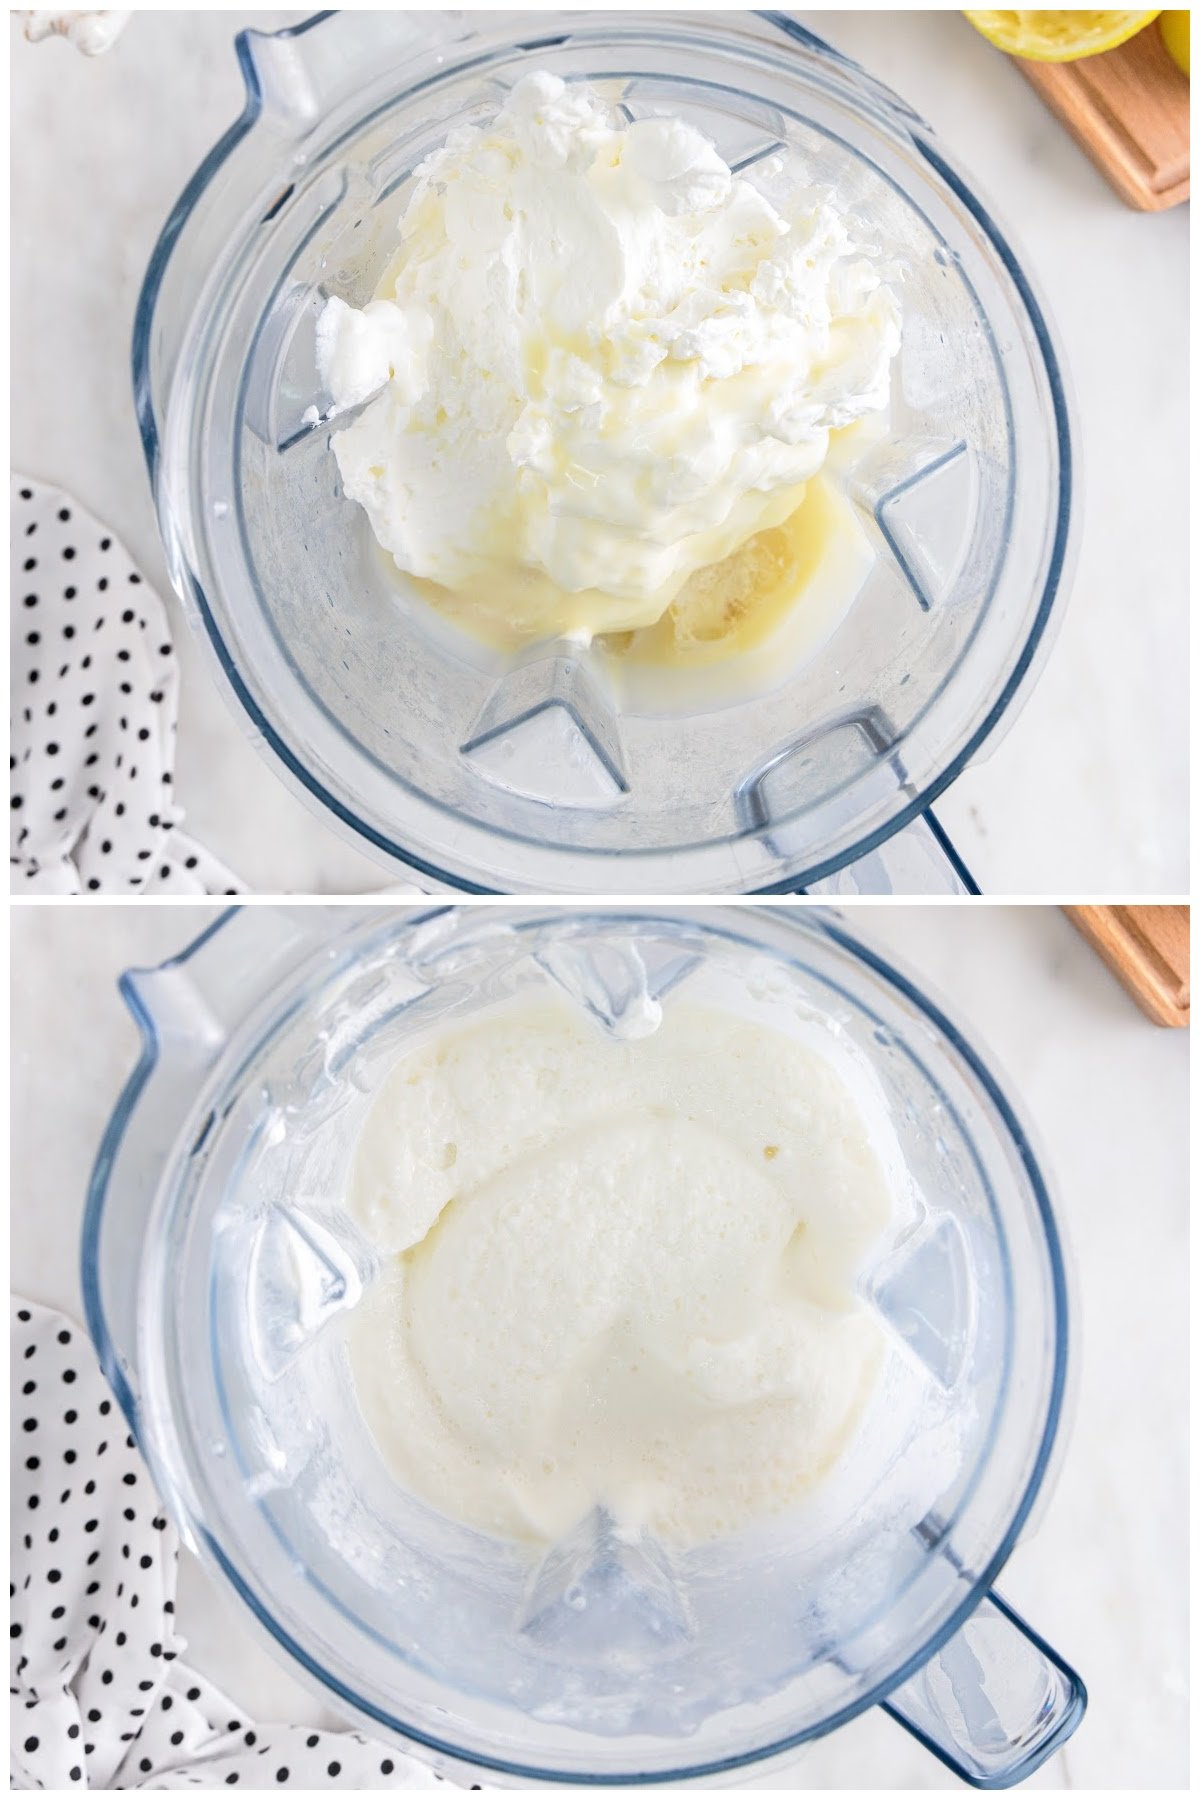
Step 1: Add 2 cups of the whipped cream into a high-speed blender, along with the lemon juice, sweetened condensed milk, and ice cubes.
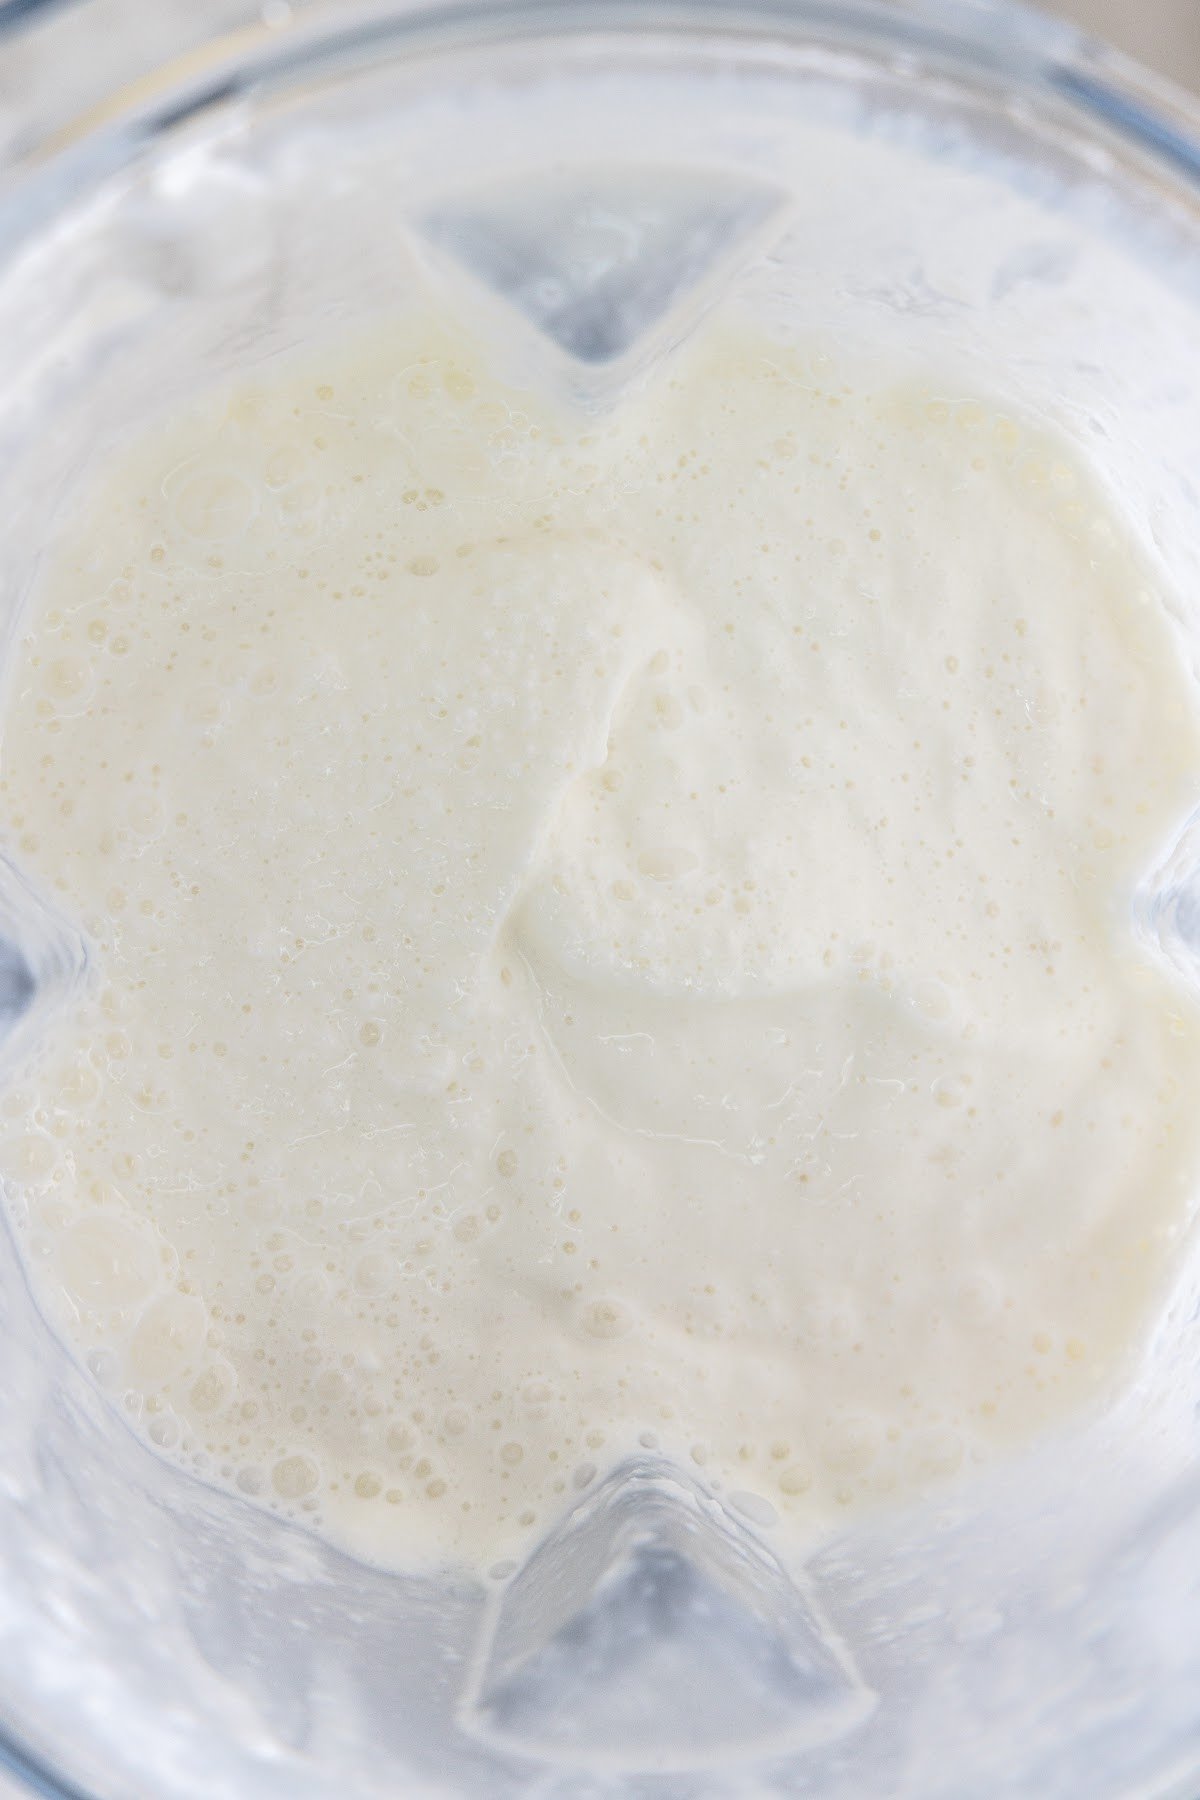
Step 2: Blend on high for at least 15 seconds, or until its consistency looks like a milkshake.
PRO TIP: It’s important to note that the cream needs to be whipped before adding it to the blender. If you don’t, the frosted lemonade will have a milk texture.
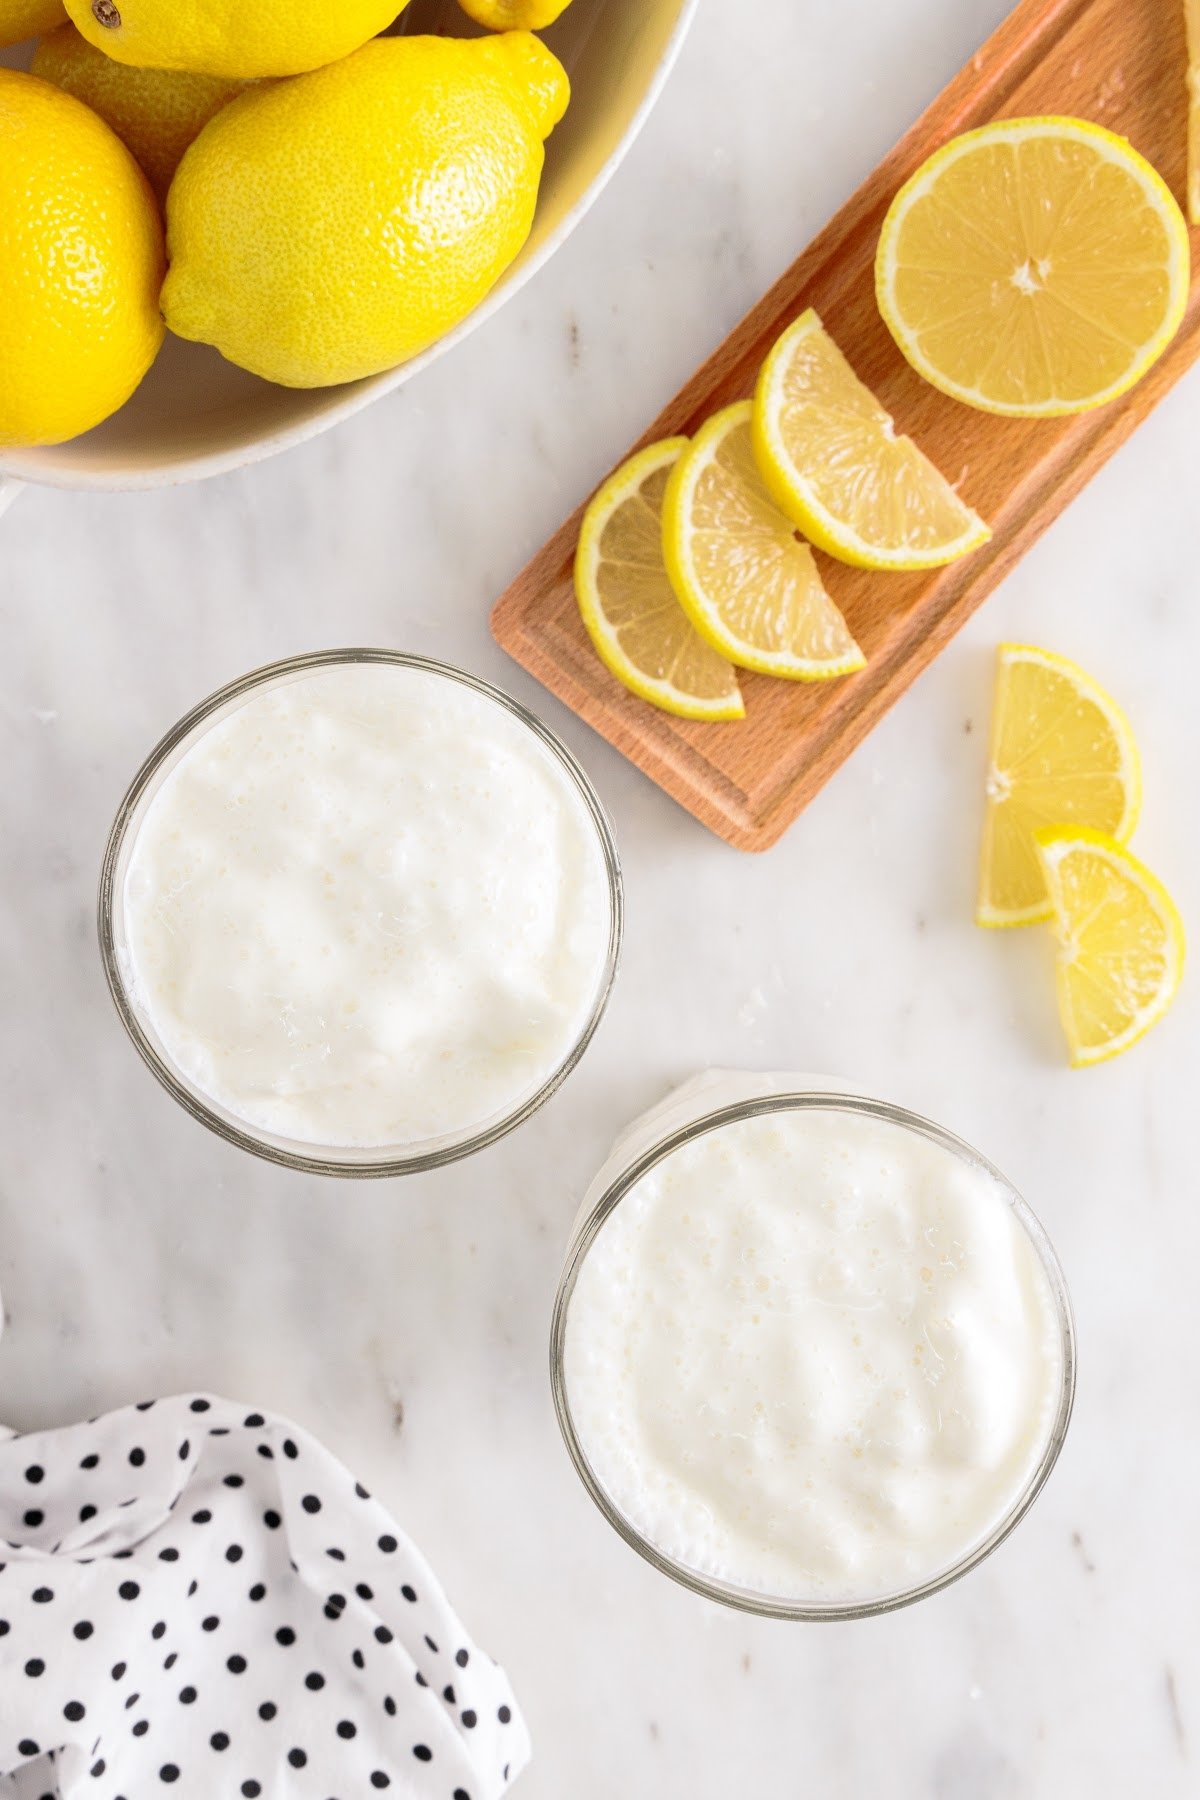
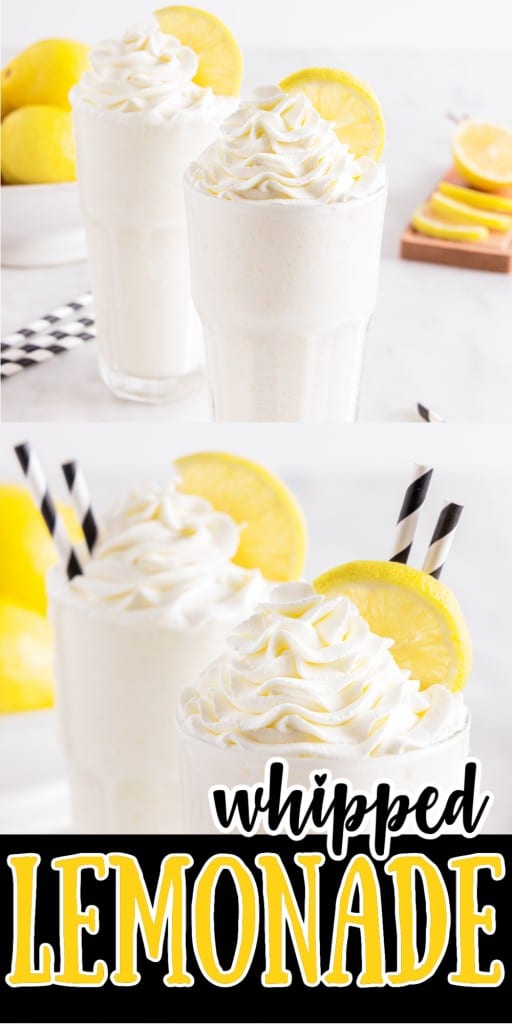
Step 3: Pour the whipped lemonade into two chilled glasses.
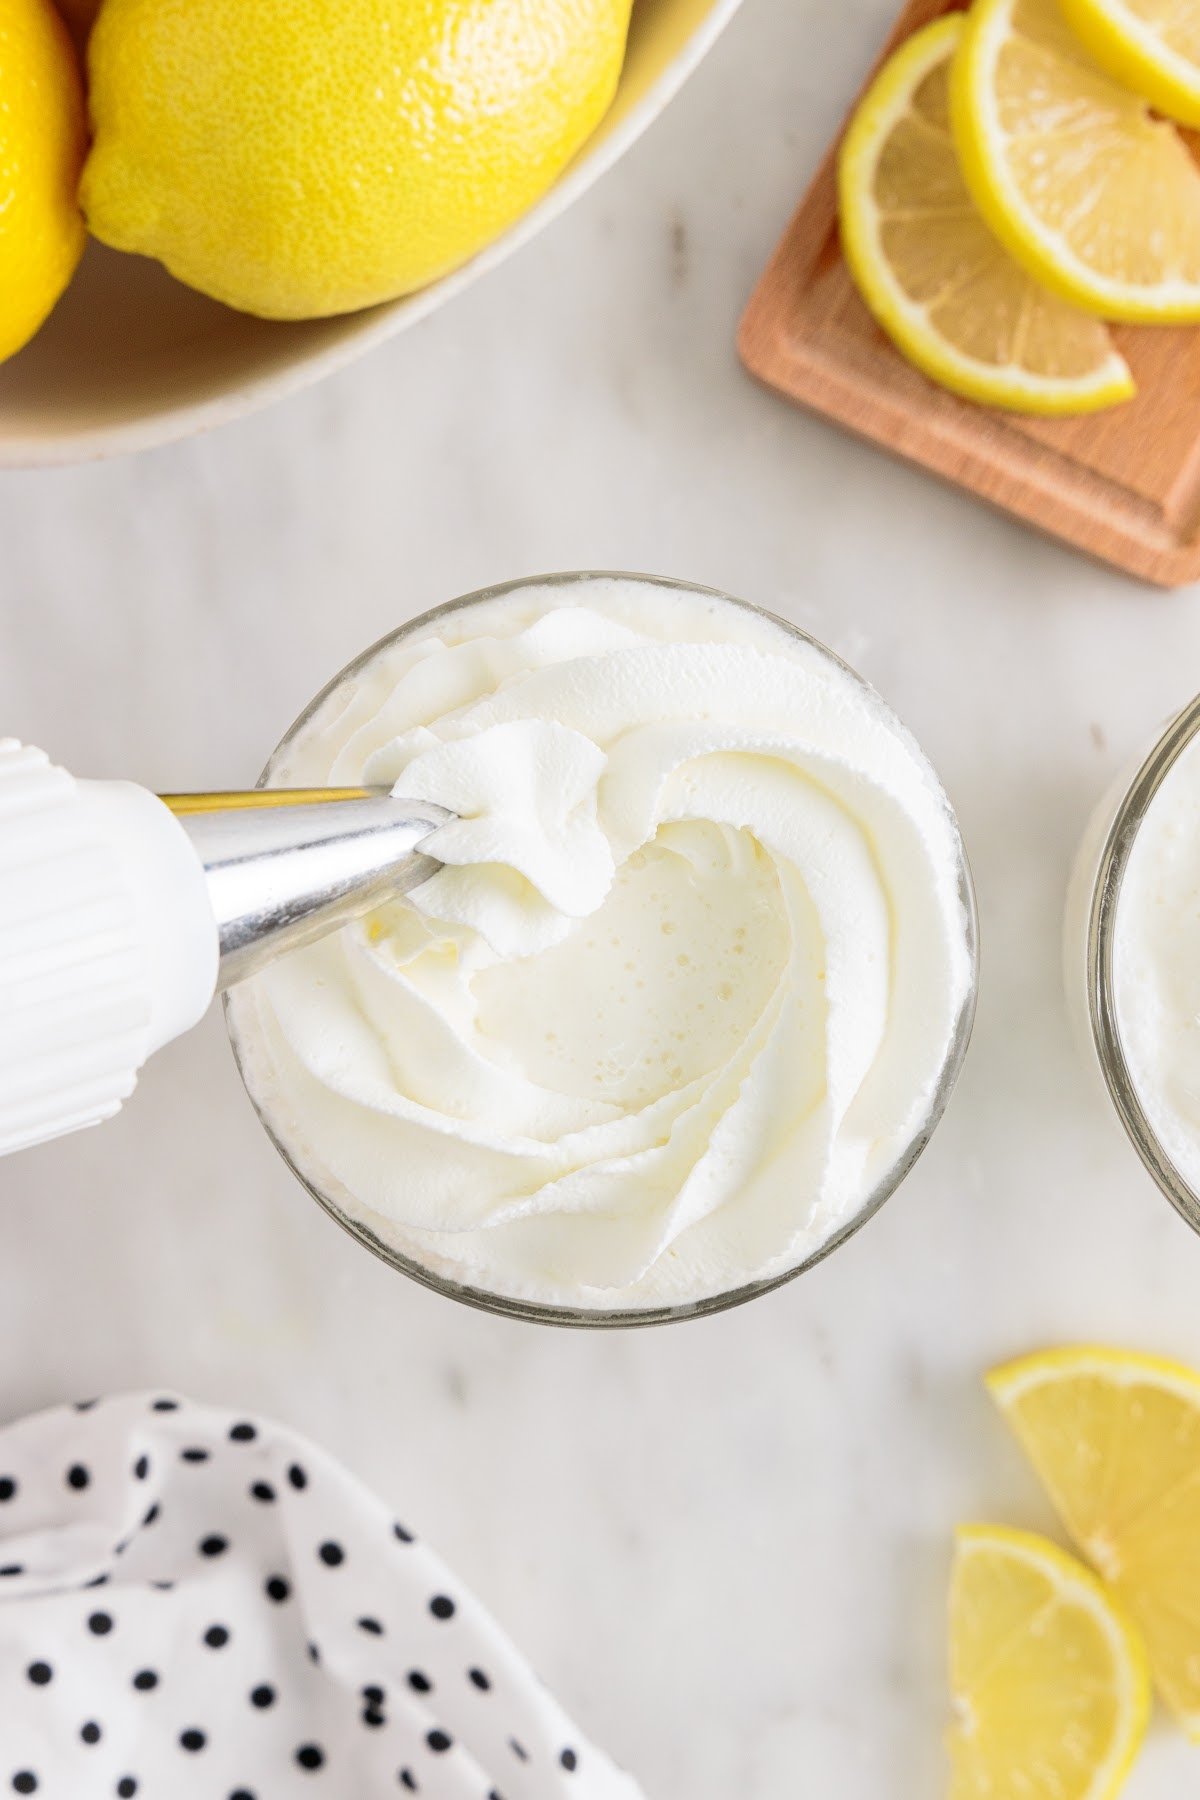
Step 4: Top with the leftover whipped cream. Garnish with lemon wheels or lemon zest and serve immediately.
Make it Boozy
For our boozy friends who want to spike their drinks here are some of our favorite liquor combos that go well with a lemonade taste:
- Vodka
- Rum
- Gin
- Flavored vodka
- Bourbon
- Tequila
If you love creamy frozen drinks that are adults-only, you have to try our Boozy Creamsicle Float and our Peanut Butter Whiskey Root Beer Float.

MORE REFRESHING DRINKS & COCKTAILS
If you try this Whipped Lemonade or any other recipe on my website, please leave a 🌟 star rating and let me know how you liked it in the 📝 comments below.

Tik Tok Whipped Lemonade
Ingredients
- 3 cups whipped heavy cream 1 ½ cups heavy cream should double in volume to 3 cups, divided
- ½ cup freshly squeezed lemon juice
- ½ cup sweetened condensed milk
- 3 cups ice
Instructions
- Whisk heavy cream until stiff peaks form. Do not use cream in this drink without whipping it first.
- Place 2 cups of the whipped cream, lemon juice, sweetened condensed milk, and ice into a blender.
- Blend on high speed for approximately 15 seconds or until the mixture is an even milkshake-like consistency.
- Divide mixture between two tall, chilled glasses.
- Top with remaining whipped cream and serve immediately.
Notes
Nutrition
Make this recipe?
Share it with me on Instagram @girlinspired1 and follow on Pinterest for more!


Leave A Reply!