Dear Olivia,
You have grown so much in the last couple months, it’s no wonder that another birthday has come to pass. Six years old. I always tell you to stop growing, to stay my sweet little baby, but then I tell you, too, that each day brings me so much happiness and pride as I try to absorb all the new things you’ve seen and heard and learned. It’s impossible to freeze time, and honestly, I’m as excited to see you grow as I am to remember every stage you’ve already gone through.
You are incredible and I look forward to each new day as I watch who you are and who you become. Your anxiety over being apart from me has begun to change as you develop friendships and an identity off at school all day. And though you’re still building confidence to approach a group, your strength of conviction once you’re there is amazing. You are starting to walk around the house with your nose in a book and remind me of myself as a child; learning to read really is the coolest thing. While last year you would say that your favorite part of school was recess, you proudly shout “Math” this year – another reassuring piece of evidence that you are a product of your mom and dad.
I watch you as you observe others’ interactions and conversations and I hold my breath to see how they will effect your sensitive little being. We talk a lot and sometimes we just exchange words with our eyes and I know what you’re thinking or feeling, even if we don’t speak. Most of the time, you bring things up later, sometimes even days later. I hope you’ll always talk to me. I find myself struggling with maintaining your innocence versus preparing you for the world that is already out there. I think about homeschool.
Your favorite color continues to be pink and you love all things sparkly, fluffy, glittery, and girly. Your daddy picked out pink cowgirl boots for you for your birthday and your mommy picked out an oversized toy pony. You dream of being a cowgirl and I dream of helping you to make all your dreams come true. Your ability to nurture and teach is remarkable; your patience is incredible.
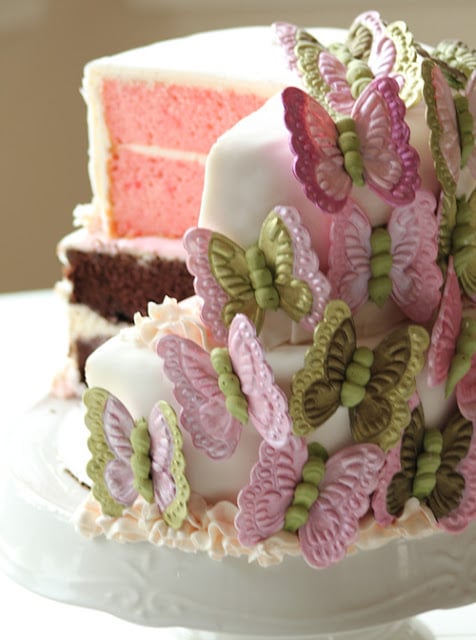
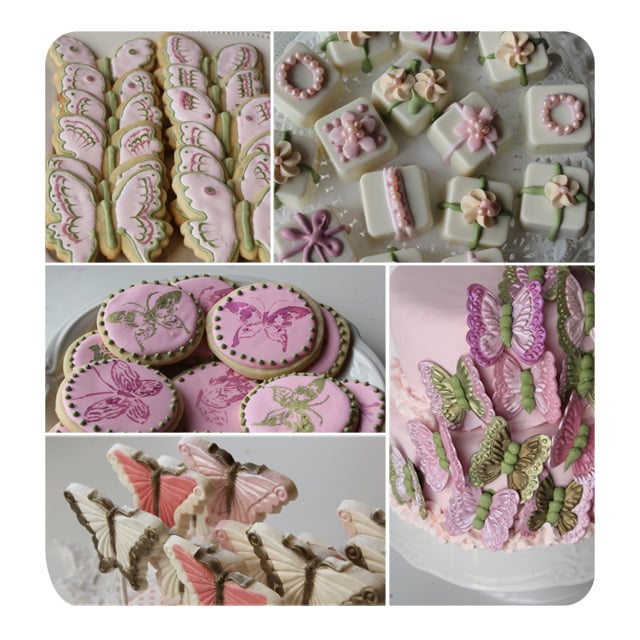
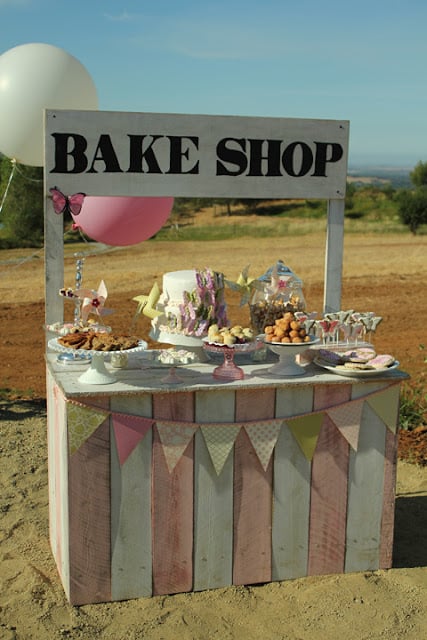
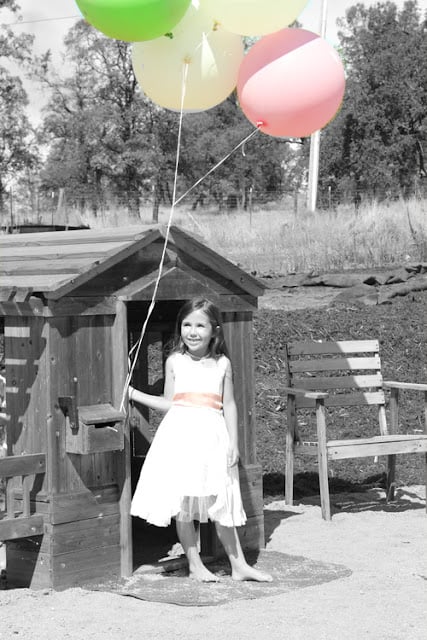
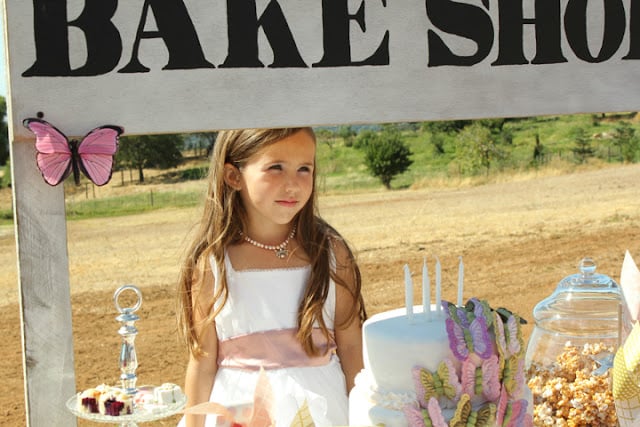
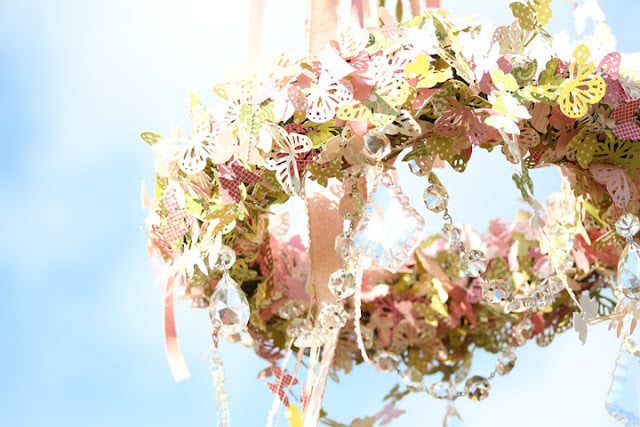
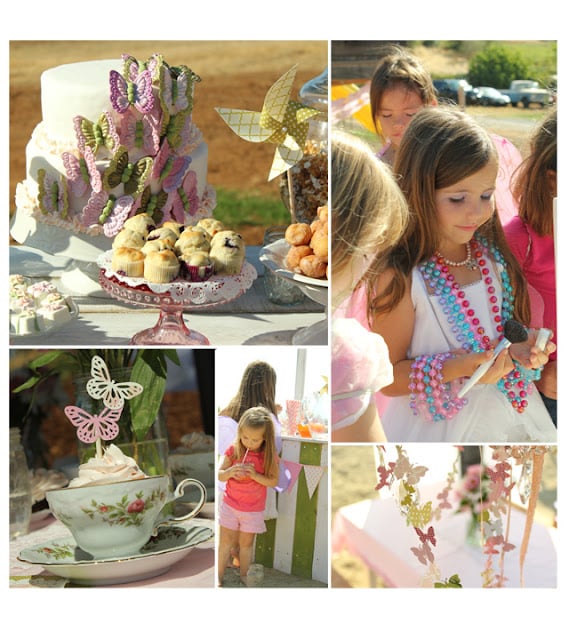
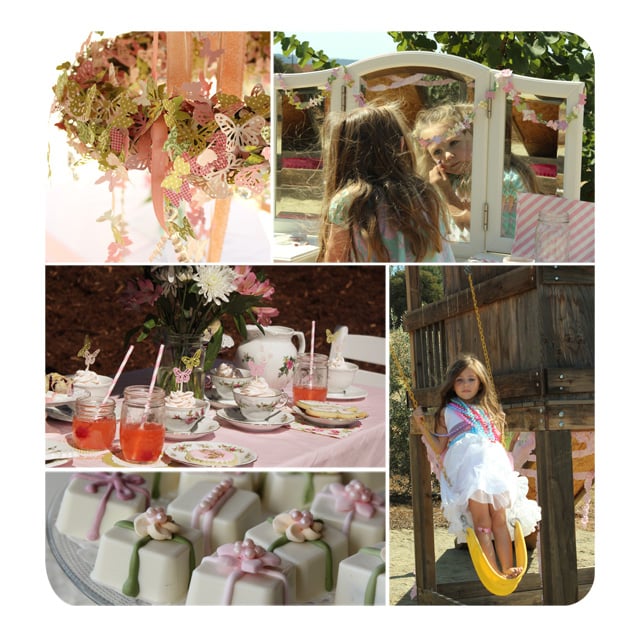
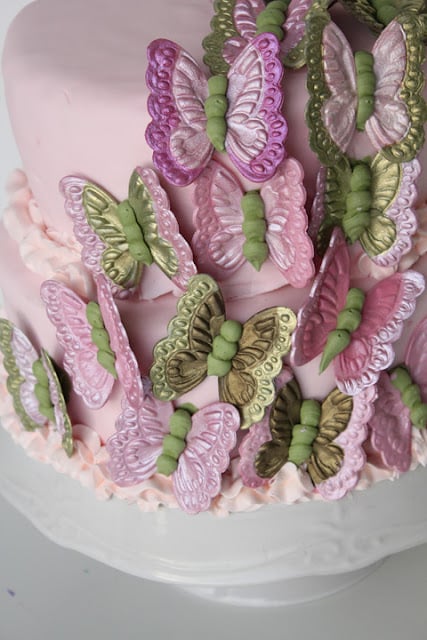
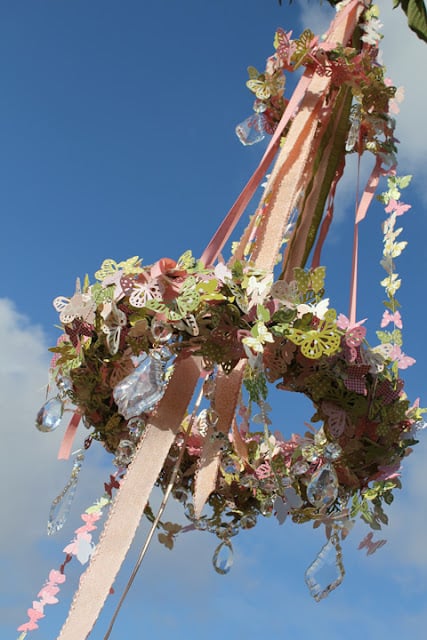
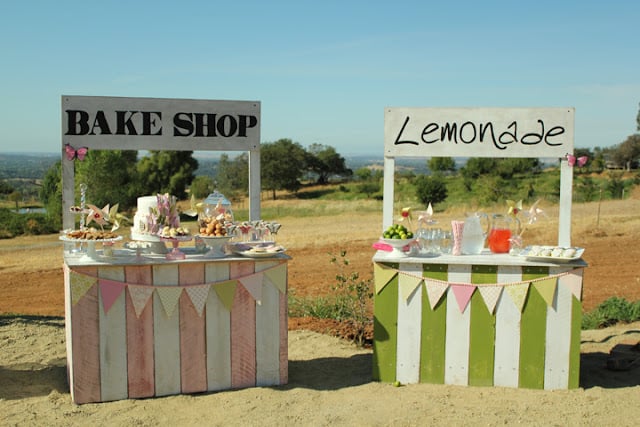
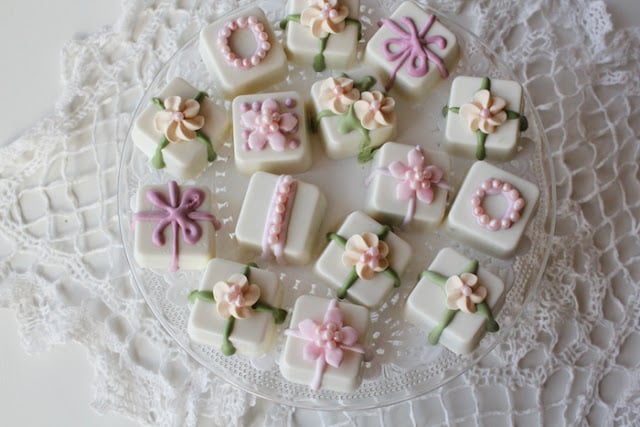
You asked for a butterfly tea party and I did everything I could to give you the most amazing party. I started planning early, which did not result in finishing early. Instead, we moved out the goal post (as you daddy says). Several times. It was awesome. I couldn’t sleep the night before because I was just so excited and when I woke up extra early to set everything up, you woke up too, and said, “But mommy, you always sleep in,” and I said, “You always sleep in, too,” and then we giggled and I put your hair in hot rollers and you hoped it would last your whole party, but it didn’t. You didn’t notice because you were having too much fun running around with all your girls. I love you so much, Olivia, so much. Having you and your daddy and your sisters in my life is the greatest blessing and I am truly grateful every day.
Love,
Mommy


Comments & Reviews
Leslie :) says
So beautiful! Did you make the Petits Four or did you buy them?
Anonymous says
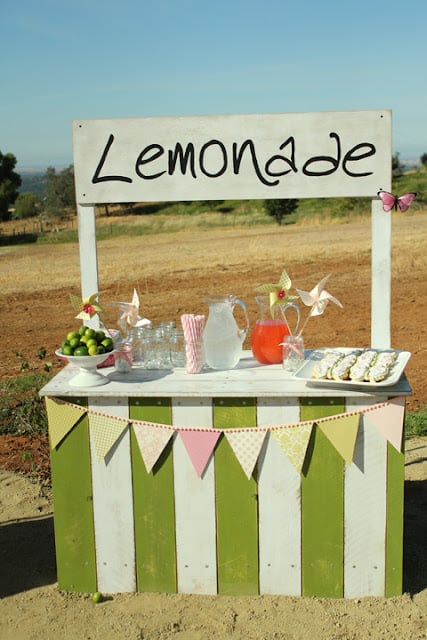
love the bake shop and lemonade stands…what were your dimensions?
Jenny says
Just stopped by your blog I love it!! What a beautiful party….I love all of it! My 6 year old DD sounds a lot like yours! Thank God for the little blessings in our lives!!